Task scheduling & Cronjobs
Windows Task Scheduler#
In this section, we will show you how to automate a i-doit windows installation using the windows task scheduler.
Prerequisites#
In our example of task scheduling for i-doit under Windows, we use an i-doit instance that was set up using the i-doit Windows Installer.
If you have installed i-doit via XAMPP, you must adjust the paths in the batch file for console.php and php.exe.
Creating a batch file#
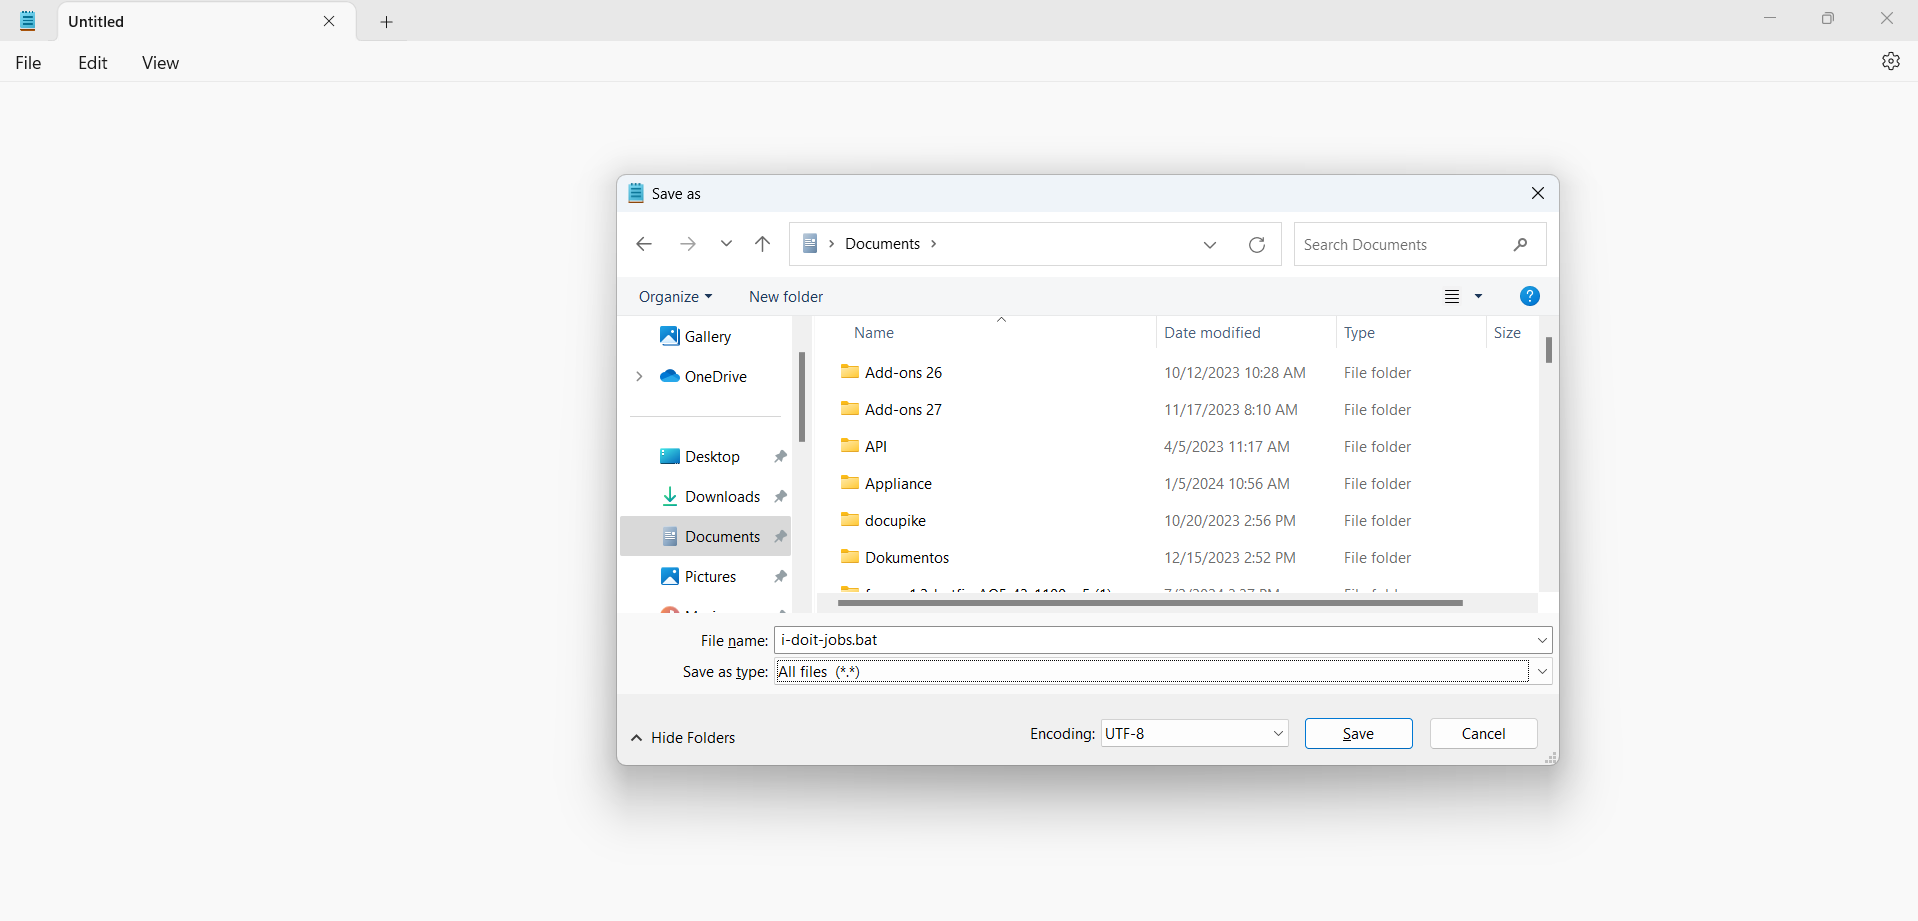
To create a batch file, you must open an editor program and create a new file. Then save this file as "i-doit-jobs.bat".
Once the file has been created, we can fill the file with commands from the CLI.
The batch file can be filled with the following content:
1 2 3 4 5 6 7 8 9 10 11 12 13 14 15 | |
The user name, password and TenantID may need to be adjusted
Automate JDisc import and LDAP sync#
If you also want to automate the JDisc import or the LDAP sync, you can use the commands for the JDisc import or the LDAP sync in the same way as the other commands from the example above, simply add them to the batch file.
Setting up a task#
In order for the batch file to be executed automatically, a task must be created. This function can be found via the Windows search under Task Scheduler.
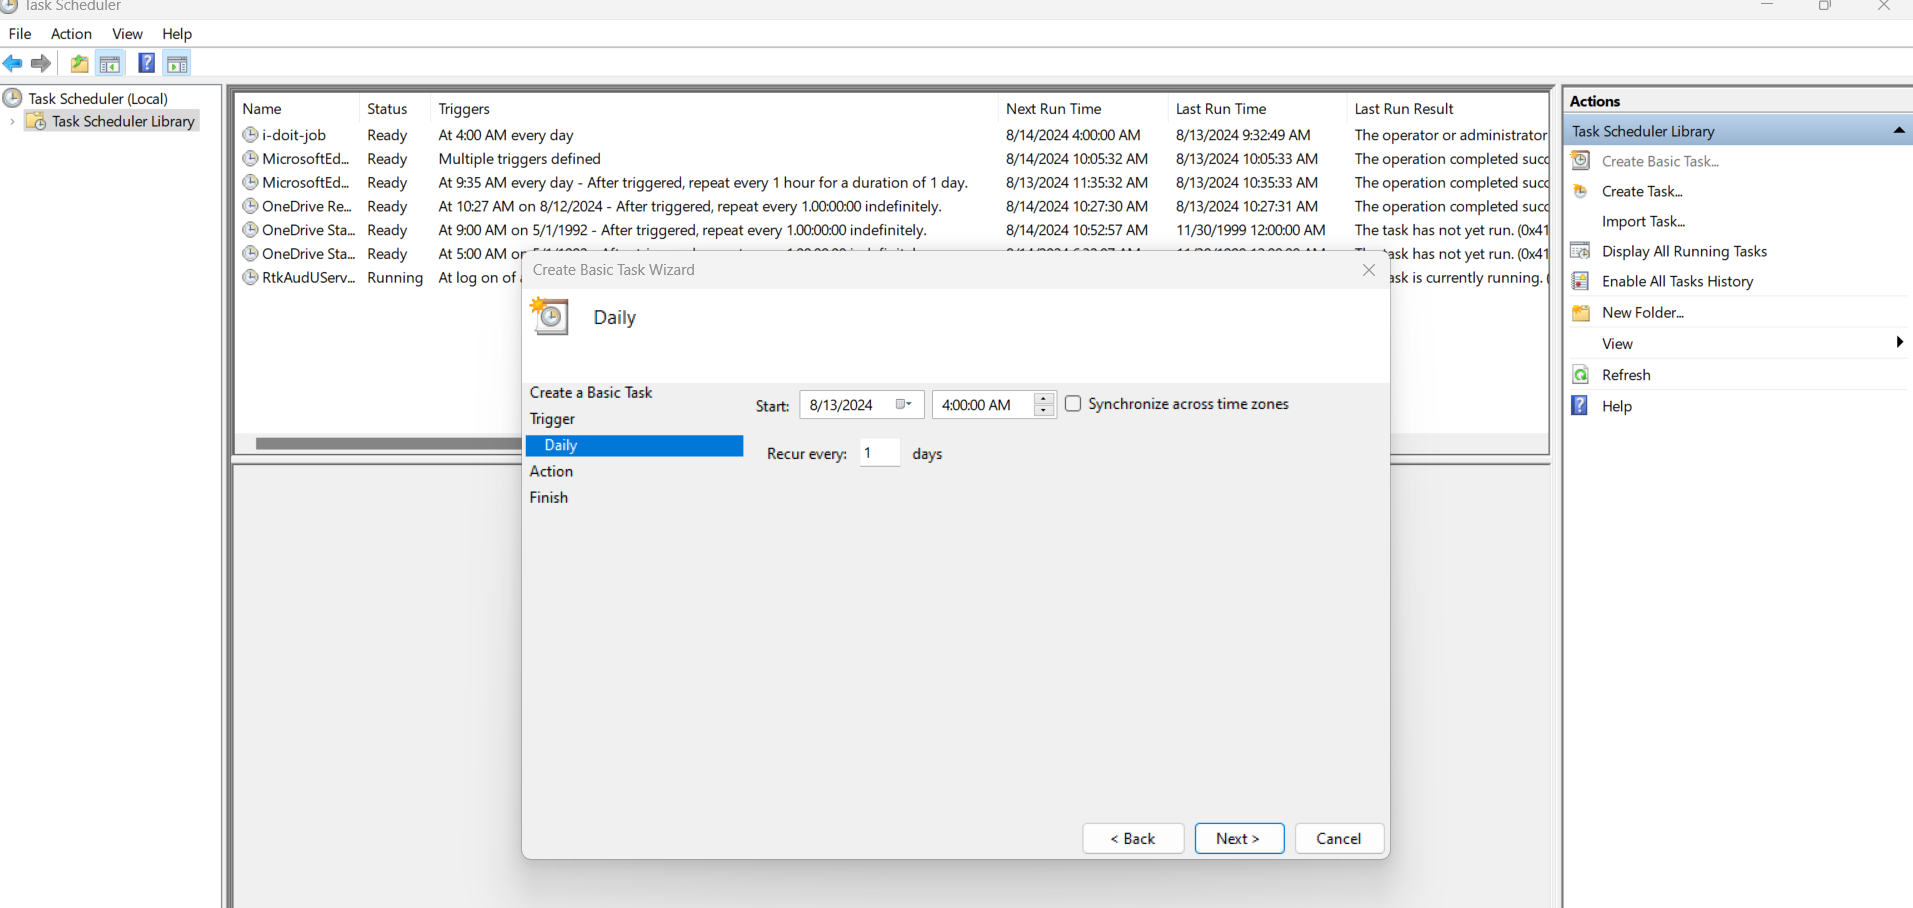
The first step is to create a new task. A "Basic task" can be created under the "Actions" tab:

Once a name and a description have been assigned, the trigger can now be created. The trigger specifies when and how the task should be executed. For this example, we set the trigger to Daily at 4:00 am.
Next, the action that should be executed must be selected. As the batch file is to be executed, "Start a program" must be selected for this option. You can then select the batch file and continue with the configuration.

All details can then be checked once again and the configuration can be completed.
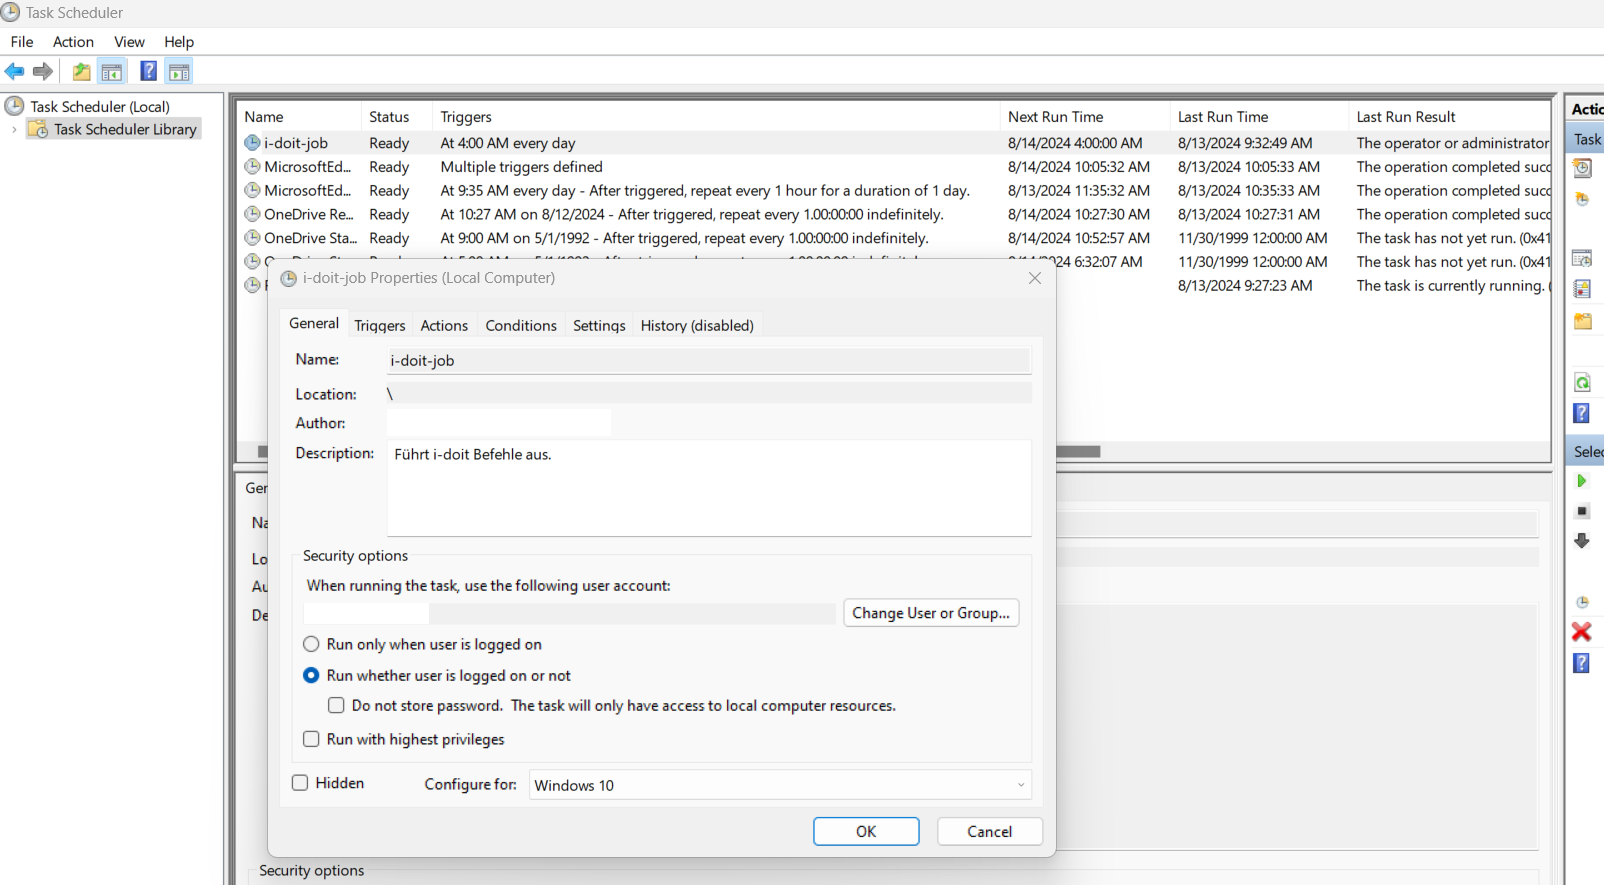
To ensure that the task is executed correctly, we open the properties of the task we have just created and select the option "Run whether user is logged on or not" on the "General" page.
This completes the task planning. The created task will execute the selected batch file every day at 4:00 a.m. and the commands written in the batch file will be executed.