Web GUI#
The Web GUI is the browser-based user interface of i-doit, through which you manage the entire IT documentation. You can access it with any supported browser.
This article gives you an overview of the individual areas and their functions.
Login screen#
When you access the URL of your i-doit instance after installation, the login screen appears first. Here you can log in directly to i-doit or switch to the Admin-Center via the "Admin-Center" link at the bottom of the window.
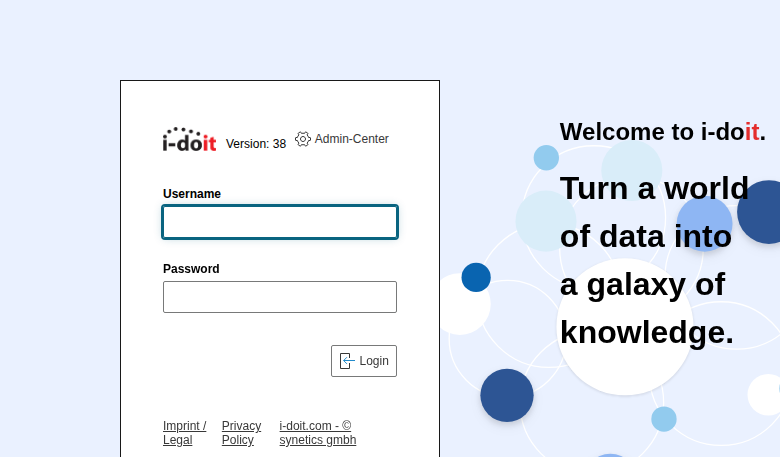
With a fresh installation, the default users are available: Admin, Archivar, Author, Editor and Reader. Each of these users has their own name as the password (e.g. username admin, password admin).
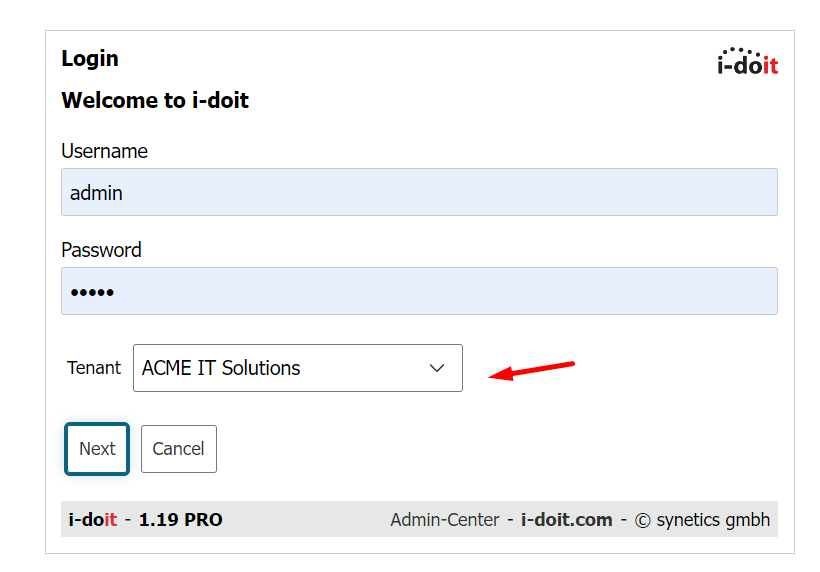
For a multi-tenant installation, you select the desired tenant after logging in:
Start screen, dashboard and widgets#
After a successful login, you see the start screen of i-doit with the dashboard and its widgets.
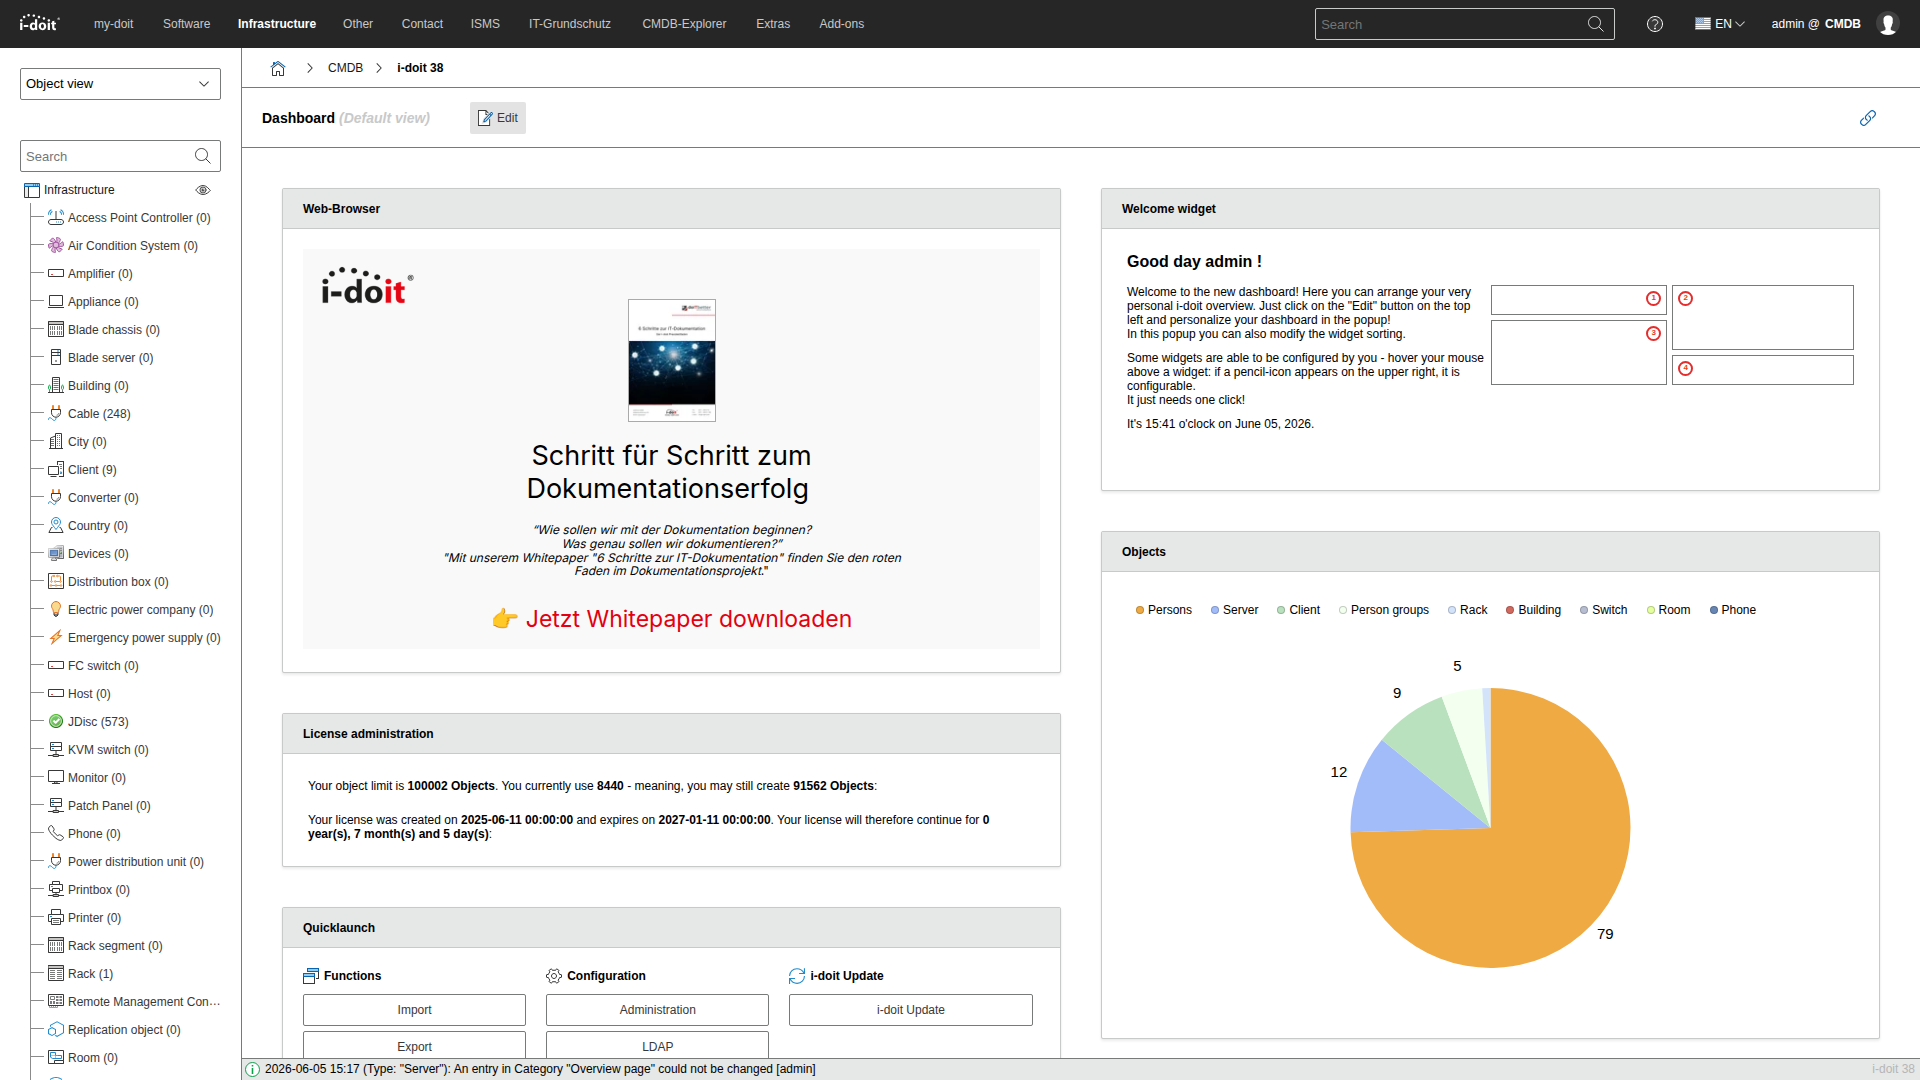
The bar at the top is divided into the following areas:
i-doit button#
In the upper left corner you will find the i-doit button. Clicking on it takes you back to the start page at any time.

my-doit#
Next to the i-doit button you will find your personal area "my-doit". Here you can:
- Set CMDB status filters
- Create bookmarks to objects or areas
- View your tasks from the workflow system
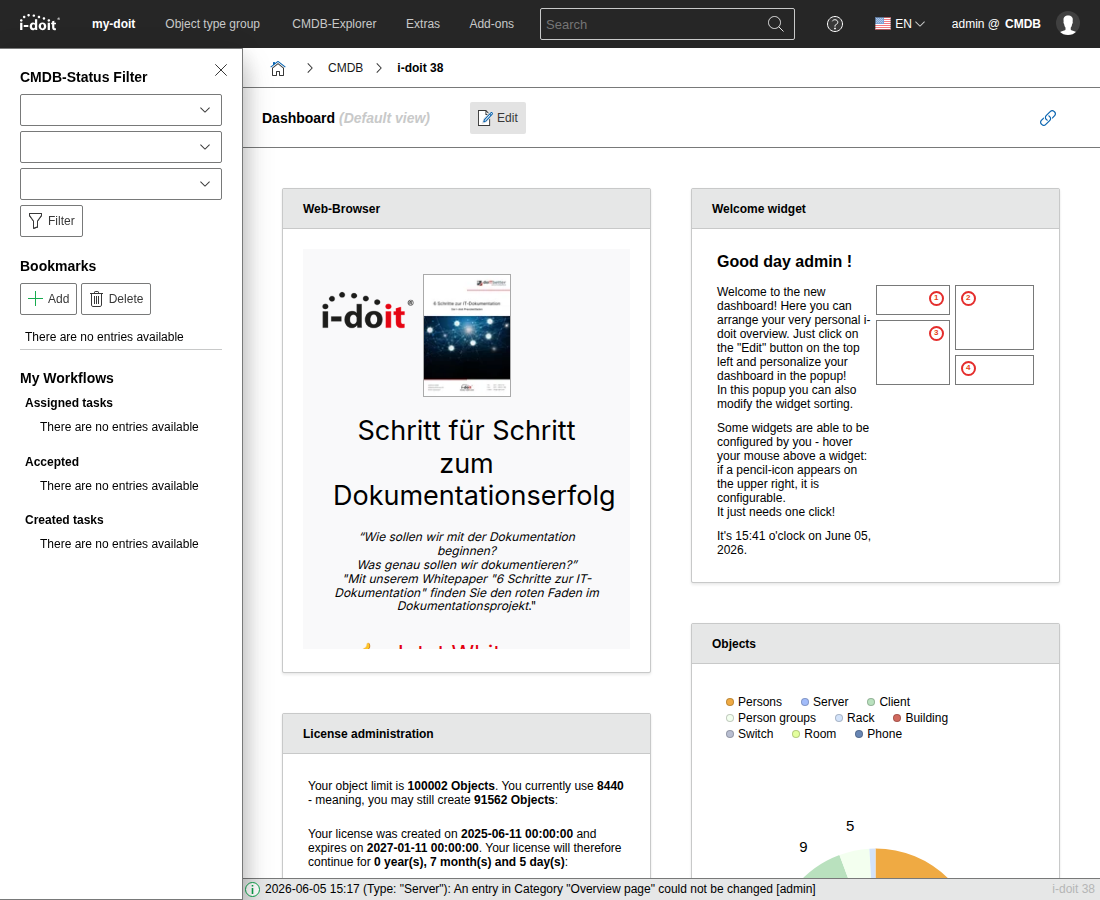
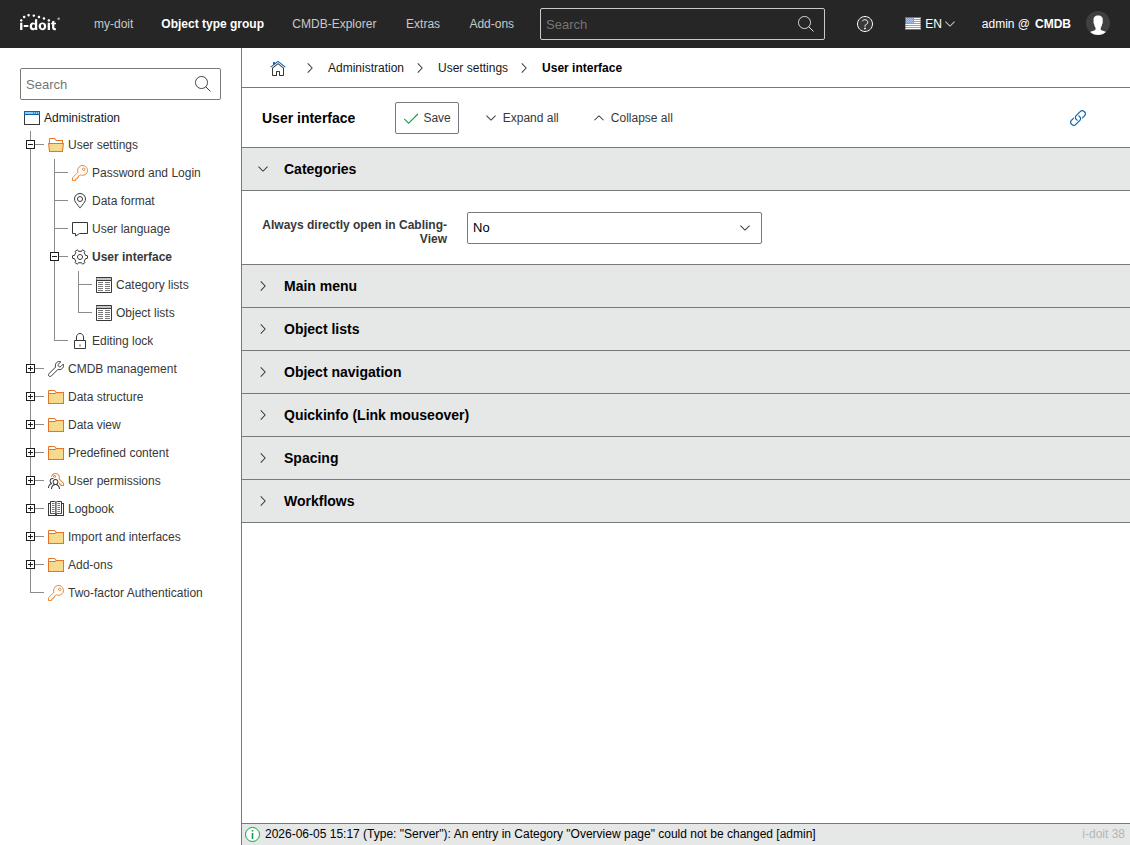
If you do not need my-doit, deactivate the area under Administration → User settings → Display:
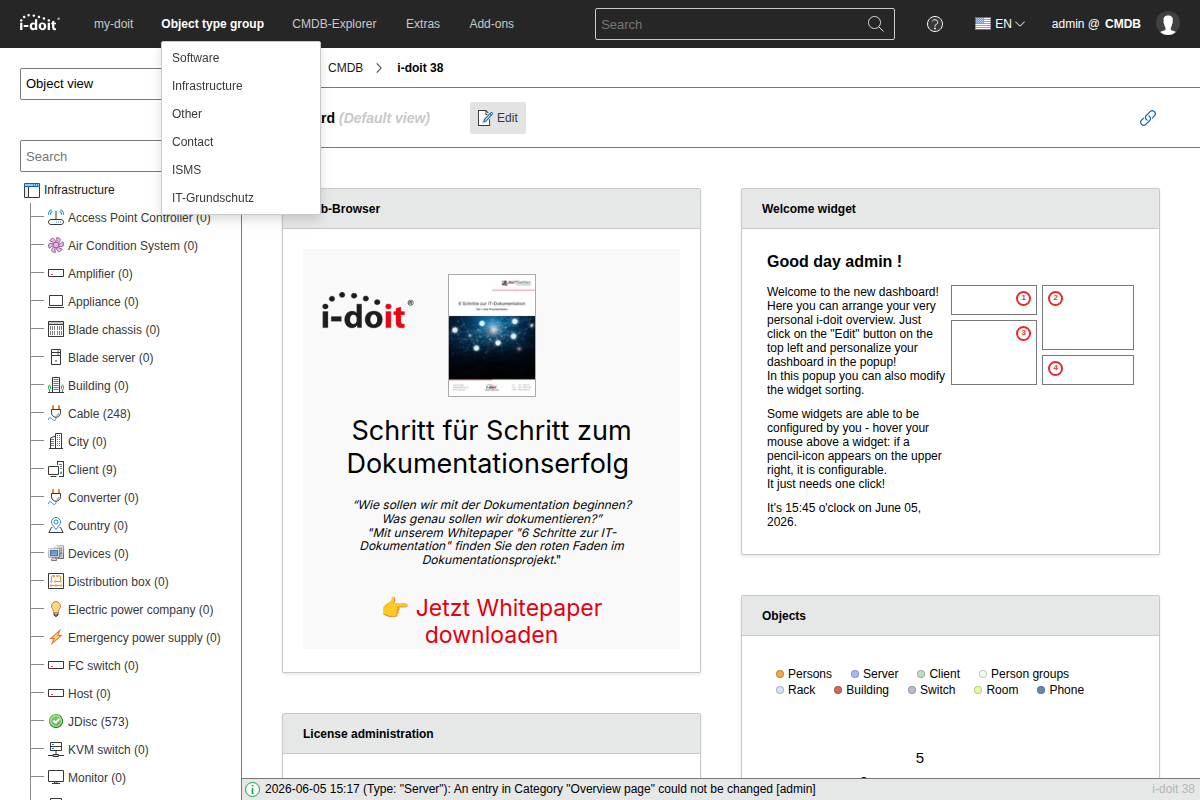
Object type group selection#
In the middle area of the top bar you will find the object type groups. This area is fully customizable. When you select a menu item, the associated object types appear in the tree view on the left side.
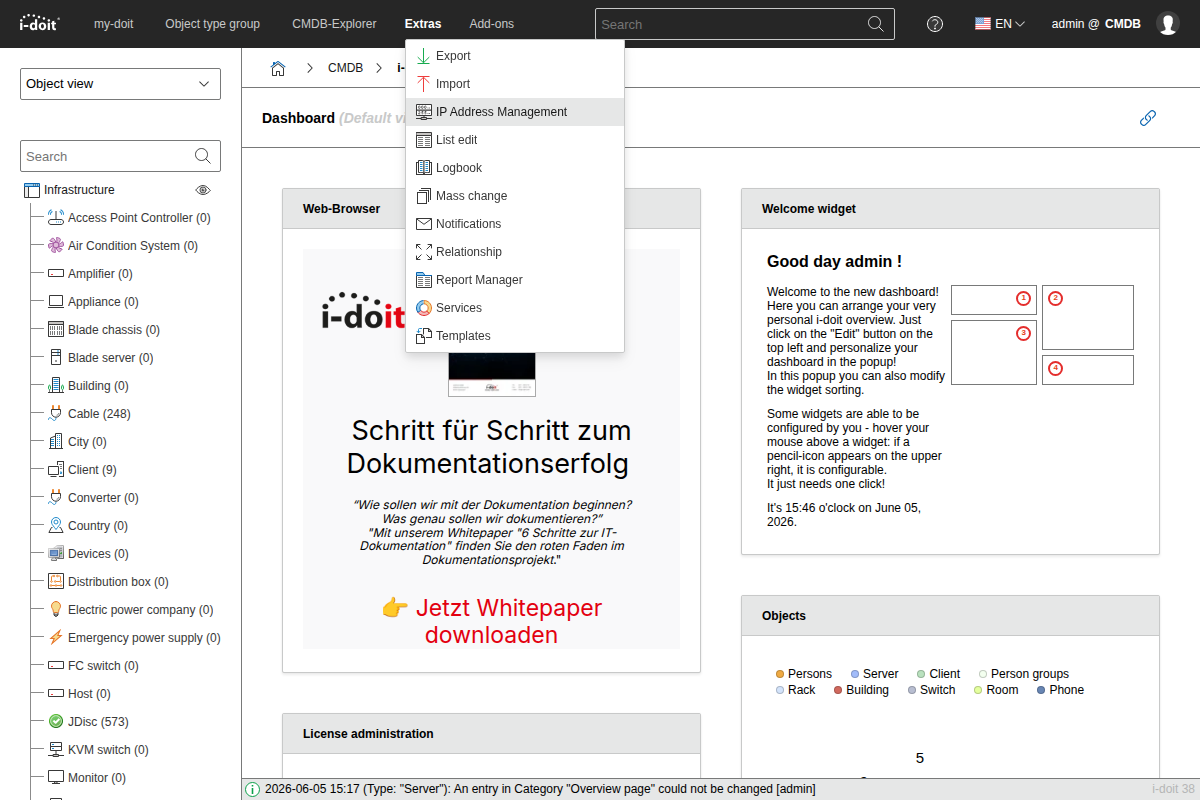
Extras#
Under Extras you will find special functions of i-doit. These include CMDB features for more efficient work as well as access to installed i-doit add-ons.
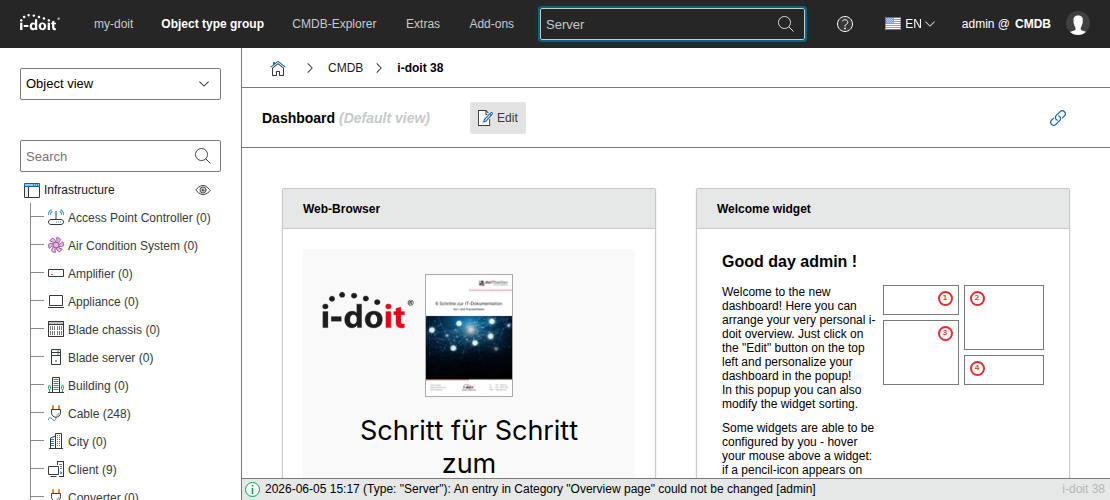
The global search#
Via the search field in the upper right corner, you access the full-text search of i-doit directly. You can jump directly to a result or display a complete result list.
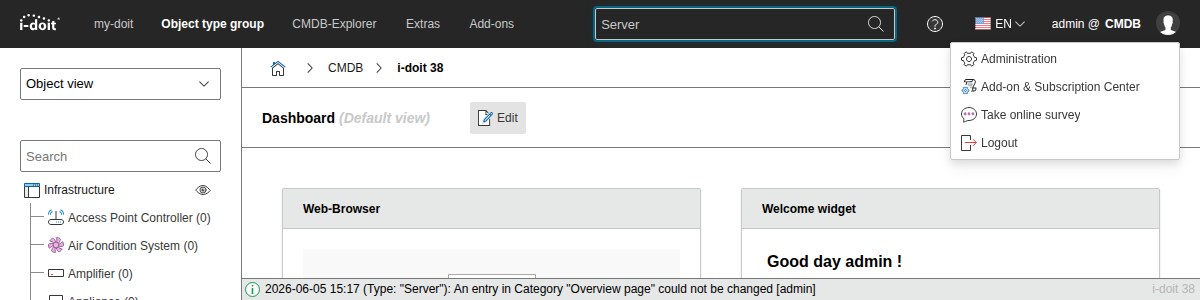
User info/language and administration#
In the upper right corner you see the currently logged-in user. Click on it to log out or to switch to the administration of i-doit.
Breadcrumb navigation#
Below the black bar is the breadcrumb navigation. It shows you at any time where you are in i-doit, and you can use it to jump directly to parent areas.
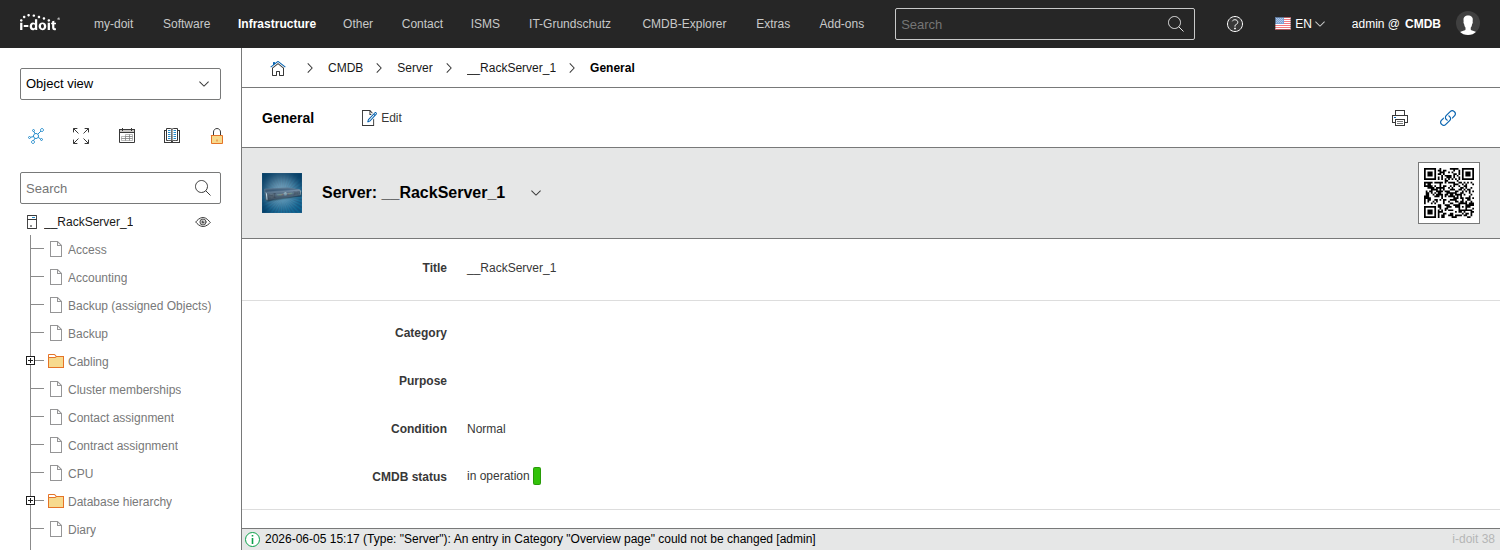
Object view#
In object view mode, the left area displays the tree view. Depending on the context, you see either all object types of the selected object type group or -- when you have opened an object -- the assigned categories of that object.
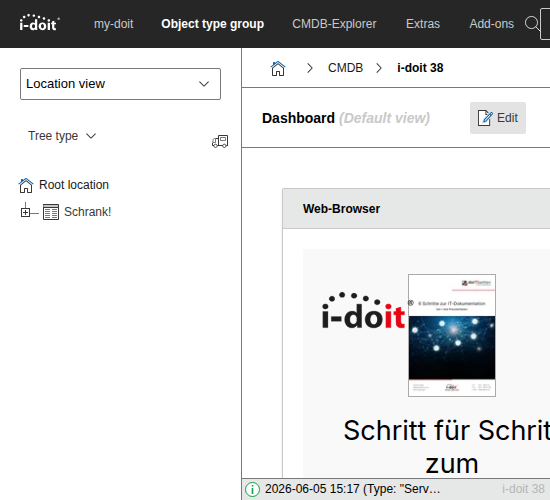
Location view#
The location view displays all objects that represent a location in a hierarchical tree view. You can navigate through the location hierarchy and jump directly to the assigned objects.
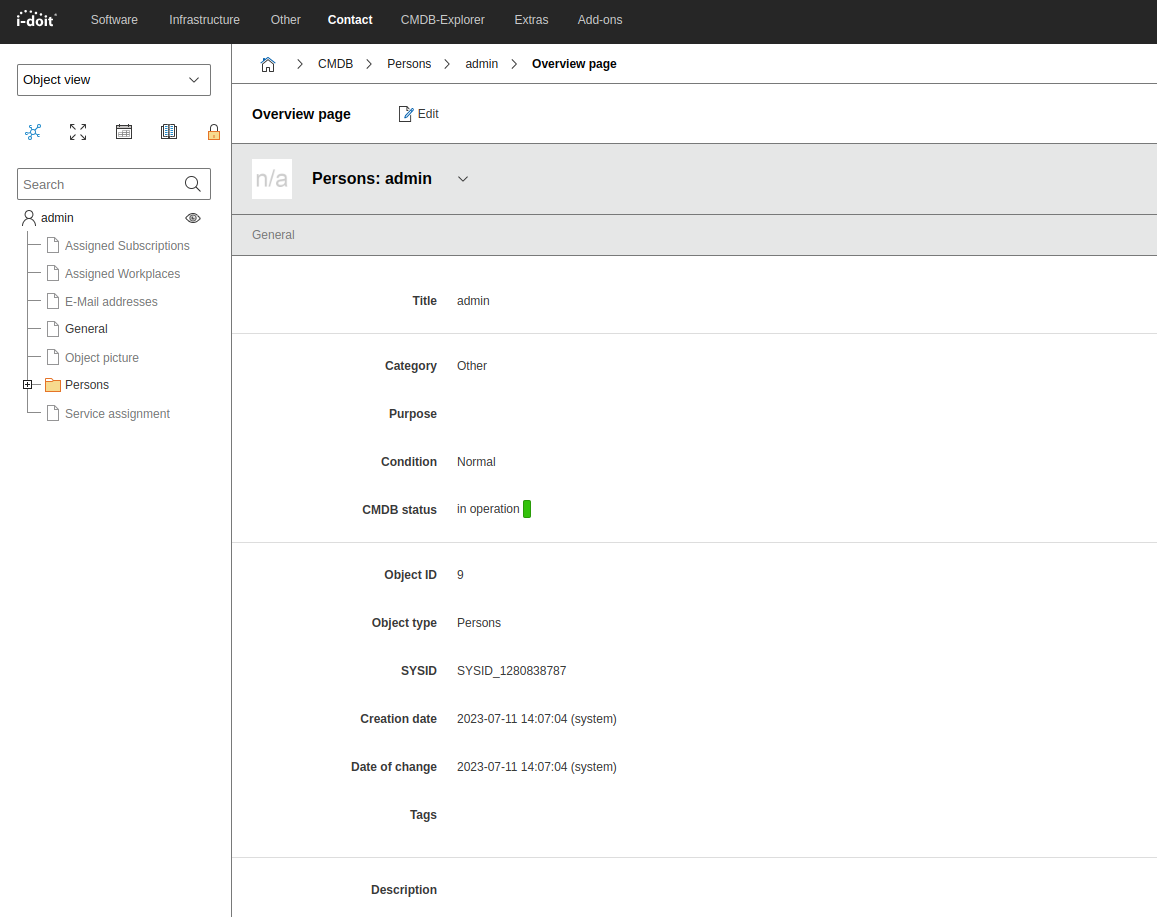
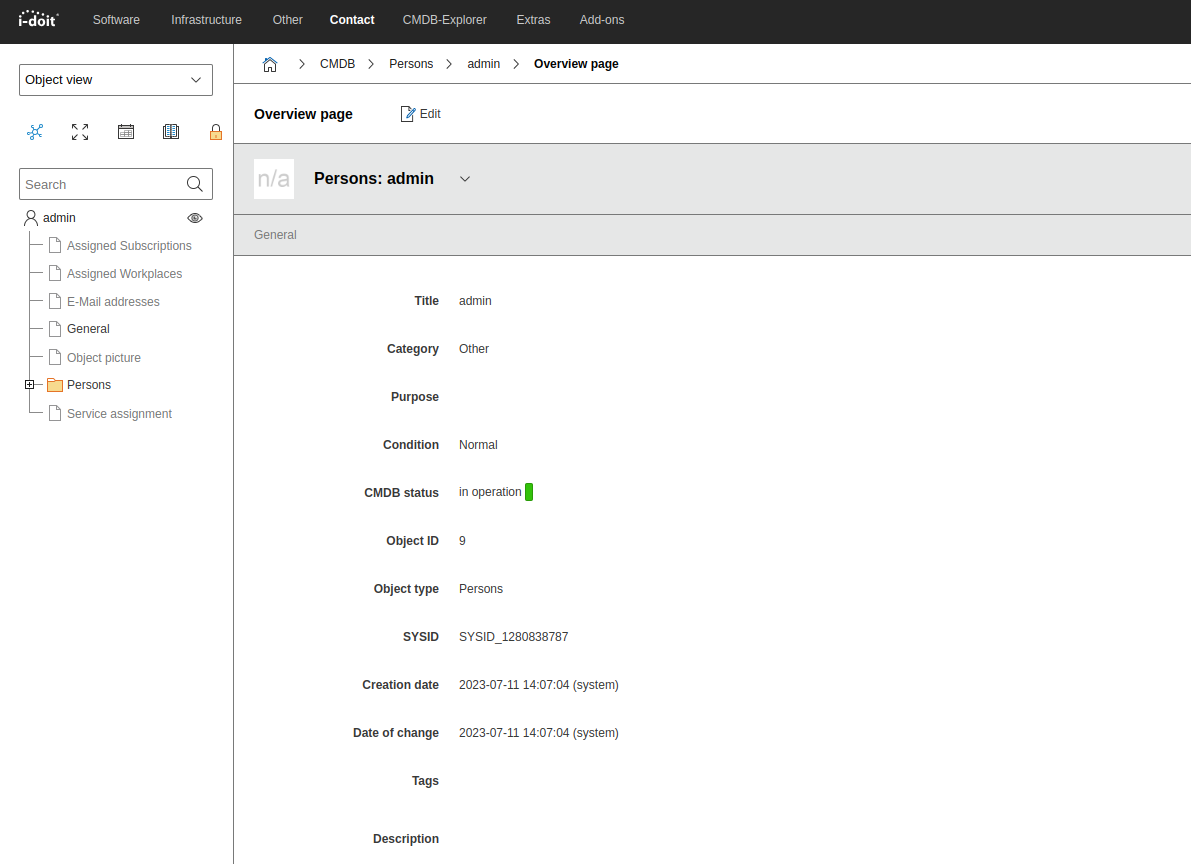
Row spacing#
You can adjust the row spacing of categories in the user settings. With the "Small" setting, the rows move closer together.
Here is an example of large row spacing.
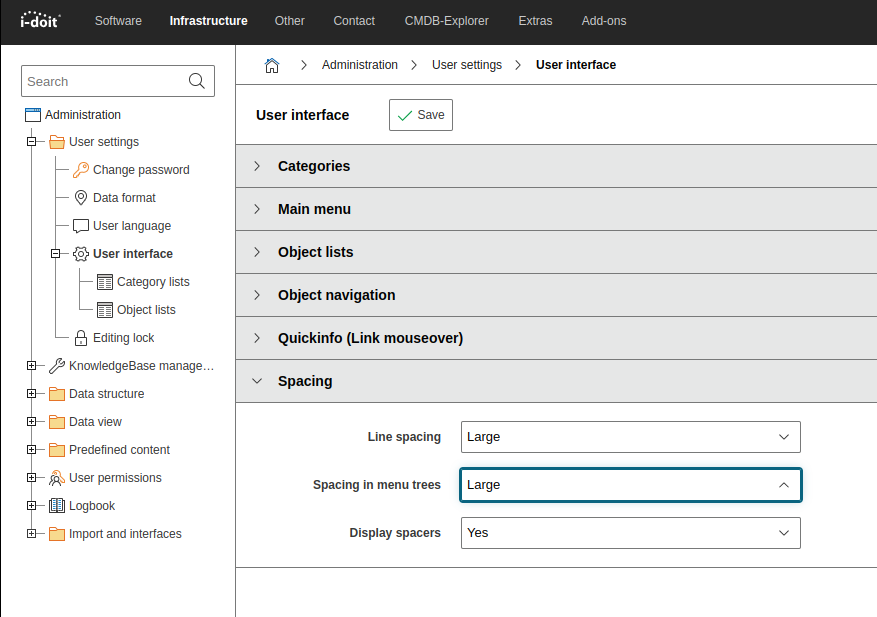
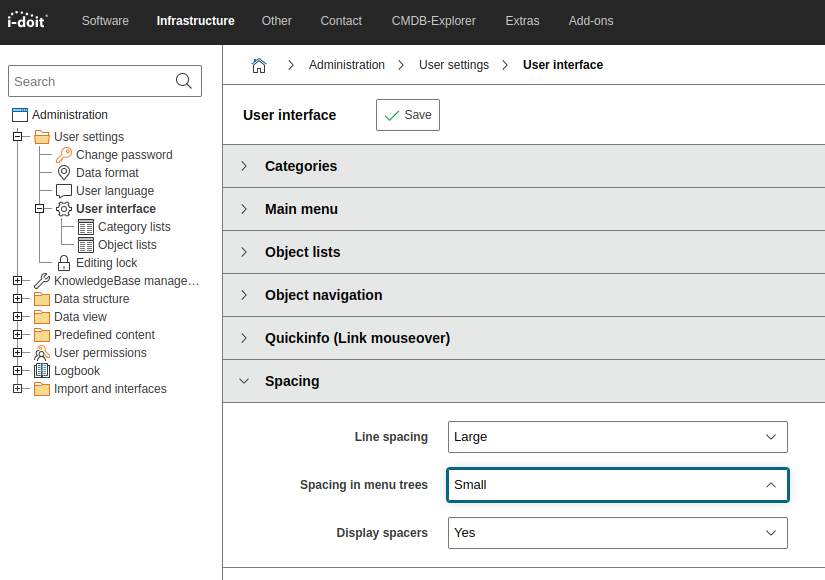
Spacing in menu trees#
With the "Spacing in menu trees" option, you adjust the spacing between menu items. With the "Small" setting, the menu items are closer together.
Here is an example of large menu item spacing.
Display spacers#
The "Display spacers" option controls whether spacers are visible in the categories. With the "Yes" setting, they are displayed.
Here is an example when spacers are disabled.