Document templates#
Templates overview#
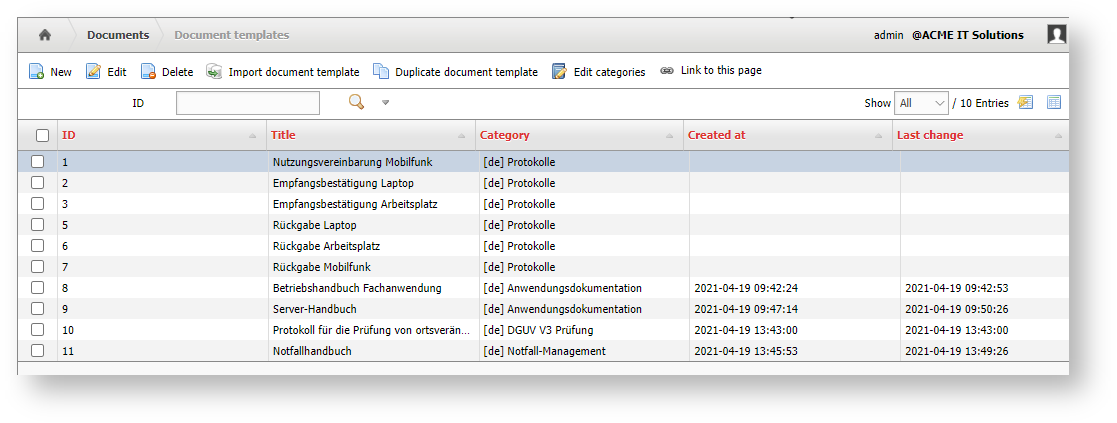
The document templates overview allows managing the existing templates. Operations like creating, editing, deleting and importing from files is possible here.
Furthermore, it is possible to create document categories to group the individual documents and templates thematically. The button "Edit categories" leads further to the dialog admin, where the categories can be added to the selection.
This way documents can be grouped for example by type (protocols, manuals, ...) department, language or own criteria.
Create new document template#
A new template can be created via the "New" button. The add-on will continue to the next input mask here. At the beginning, general and chapter-independent contents can be edited.
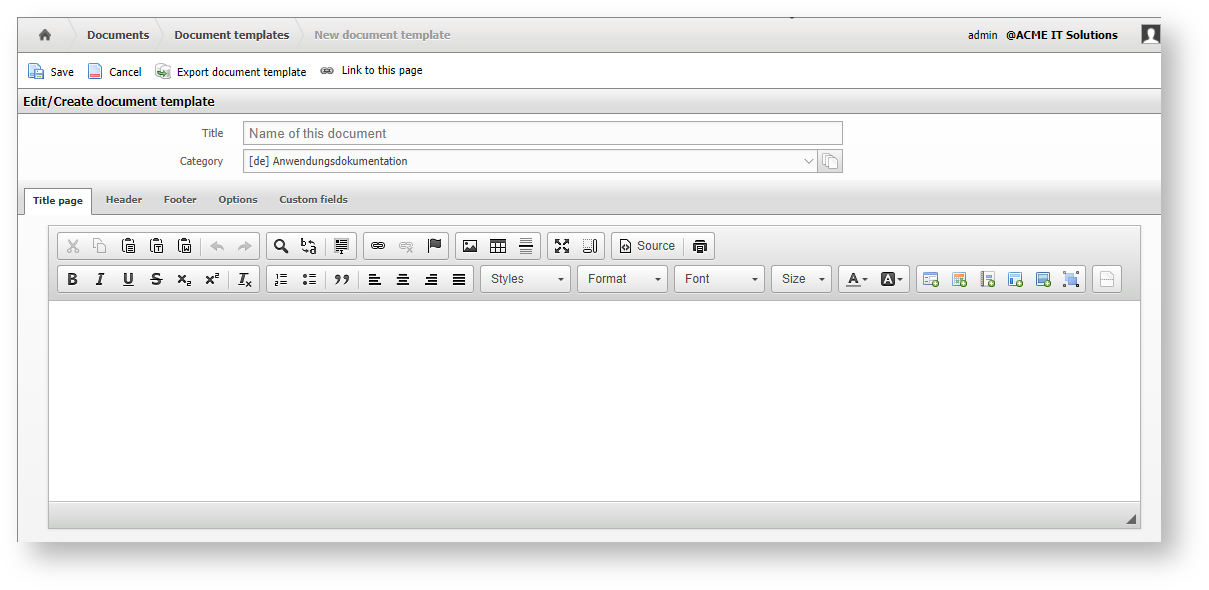
- Title
The designation defines the name of the template by which it can be found in the system. - Category
The template can be assigned to a document category. Only categories that have been created in advance are available. The category of a document can be changed at any time later. - Title page
The cover page can be designed according to your own specifications. It appears as the first page of the finished document. In the Title page tab you can enable/disable the Title page. - Header
The header represents the header area of each page of the document. The content is added to the top of each page. In the Header tab you can enable/disable the header. - Footer
The footer can be found at the bottom of each page. Additional content can be added here as well, similar to the header. In the Footer tab you can enable/disable the Footer. - Table of contents In the Table of contents tab you can enable/disable the table of contents.
- Options
The options allow to specify which pages are used for page number counting and from which page number is counted. It is also possible to specify the format of headings.
In the lower area of the options further settings for the PDF documents can be made. These include margin spacing and page orientation. If necessary, you can also upload and add your own fonts. The use of background images for the cover page, the table of contents or all other pages is also possible here. - User-defined fields
To add more fields to the document, it is possible to define your own fields under "Custom Fields", which can later be included in the document. For these fields some field types are available, which define the content. The required fields can be added using the "Add new field" button.
To include the user-defined fields in the document itself, this must be created once. Afterwards all fields are available in the editing view of the document and can be filled there. To ensure that the information is also filled in the document (PDF/HTML), a new revision must be created. If the information in the fields has been updated, it is also necessary to create a new revision.
Create chapter in document#
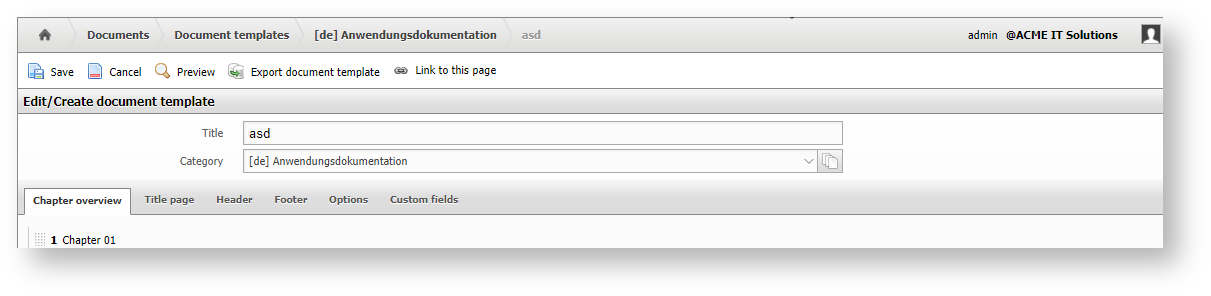
After the basic settings have been made, the template must be saved. Now the template can be called up again from the overview of the corresponding document category. From now on, it is possible to add new chapters via the "New Chapter" button and thus express the contents of the document.
Existing chapters can be adjusted via the pencil icon, which is displayed on mouseover. At the same time, the green plus icon is also displayed here, which enables the creation of a subchapter. This subchapter is subordinated to the existing chapter and is one level lower in the chapter hierarchy. The chapter can also be deleted again via the X icon.

Each chapter can first be given a name that also serves as a heading for the chapter and appears in the table of contents if it is active. As soon as several chapters exist, a superordinate chapter can be selected. The selection Chapter template allows to reference an already existing chapter. Additionally, you can specify whether the chapter should use the available space on the last page of the previous chapter or always start on a new page.
The Content section provides the option to copy content of existing chapters into the template.
WYSIWYG Editor#
In the input field the content of the chapter can be inserted via the WYSIWYG editor. The different contents can be inserted via the icons. The icons are divided into several areas.

| Icon | Function |
|---|---|
 | The first block contains all the options that affect existing text. These are options to paste, cut, undo, redo, search, replace and select. |
 | The next area allows inserting links in the form of hyperlinks or anchor points in the document. In addition, images and tables can be inserted. A horizontal line can also be included to further structure the document. Insert pictures Images should not be inserted into a document via copy & paste. This leads to the files being stored directly in the database and thus increasing the size of the database very quickly. An image file can be inserted into the document using the button for inserting images either via a URL or an upload function provided for this purpose. Alternatively, images from the category of the same name can also be included via the corresponding placeholder. |
 | The last area of the first icon line adjusts the view. Here it is possible to use a full screen view, display text blocks, switch to the source code view or generate a print view. The "Source Code" view, which can be activated via the WYSIWYG editor, displays the content of the editor unformatted with HTML tags. At the same time, HTML code can be entered here independently to further design the document. While editing in the "Source Code" mode, all other buttons of the WYSIWYG Editor are disabled. Only when the view is switched again, they are usable again and the entered HTML code is interpreted. |
 | In the second line it is possible to perform the text formatting. Here the usual options are available but also the possibility to use superscript and subscript. |
 | The next area allows the specification of lists and citation blocks. In addition, the general alignment of the text can be selected. |
 | Additionally, the style of the text can be customized. This also includes the specification of headings, the font and the text size. |
 | Also a color adjustment of the text as well as the text background is possible over the WYSIWYG editor. |
 | Content from the documentation can be dynamically integrated via the individual placeholders. More details about the placeholders and how they can be used can be found in the corresponding chapter. |
 | Finally, it is possible to insert an automatic line break using the icon provided for this purpose. |
Export and import templates#
If required, existing templates can also be exported independently and imported into other clients/installations of i-doit. To export an existing template, it must be called up in the editing view. In the line in the upper area, the button "Export document template" can now be used to execute this process. The template is provided as a file in .zip format, which contains all contents, including inserted images, and can be saved locally on your own system.
An exported template can be uploaded to the system via the "Import document template" button in the list of templates. To do this, the file in .zip format must be selected from the local system via the browser. The template is then available for use in the add-on.
Duplicate Document Templates#
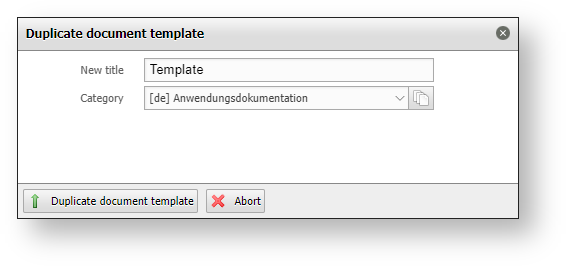
Using the "Duplicate document template" button in the document template overview, already existing templates can be duplicated. To do this, the desired template is first selected via the checkbox, so that using the button opens another dialog. Here the name of the duplicate as well as the category in which it is to be sorted can be specified.
Online Repository#
Ready-made document templates are available in the online repository, which can be adapted to your own requirements and needs and used to generate documents. After these have been downloaded, they are available in the document templates.
Note
In order to access the online repository, the i-doit server must be connected to the Internet. In addition, the selection of available templates depends on the selected i-doit system language.