Importing the i-doit Appliance into a Hyper-V Environment#
We deliver our appliance in OVF format together with a virtual VMDK disk image. To import it into a Hyper-V environment, the virtual disk must first be converted from VMDK format to VHD format.
For this, you can use the free tool "Starwind Converter" which you can download from the following link:
https://www.starwindsoftware.com/tmplink/starwindconverter.exe
We have already downloaded the i-doit Appliance and extracted it to c:\i-doit_appliance:

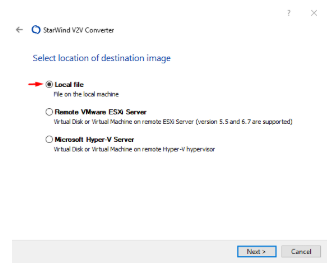
After installing the Starwind Converter, start it and select "Local File" as the source, then click "Next":
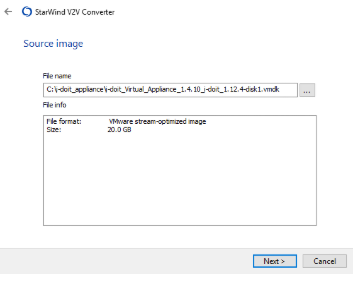
Now select the VMDK image from the ZIP file of the i-doit Appliance and click "Next":
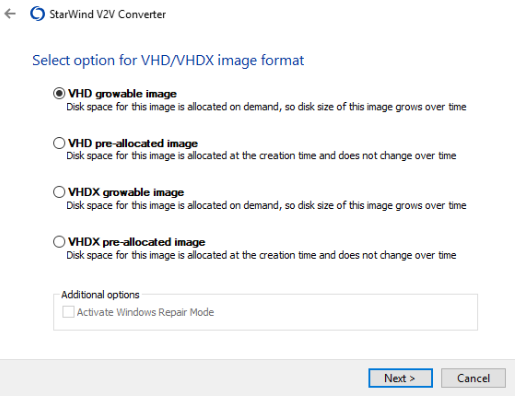
Then select the target format for the virtual hard drive and click "Next":
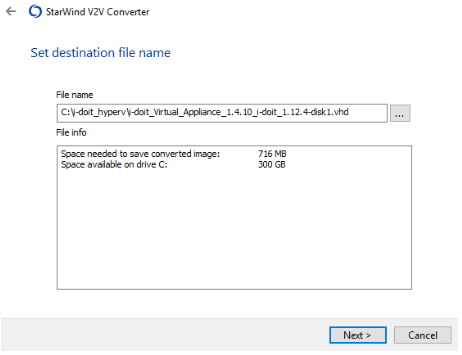
In the next step, select the destination for the new VHD disk and its folder and click "Next":
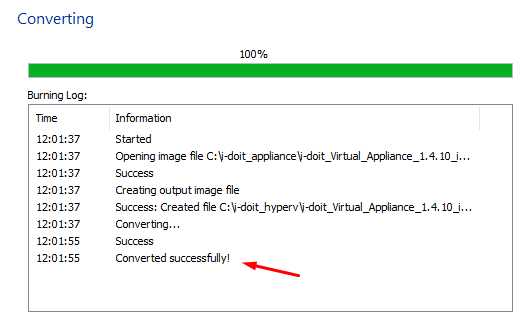
The conversion now takes place and after completion, you can exit the program:
In the next step, you can integrate the converted disk into a new Hyper-V machine.
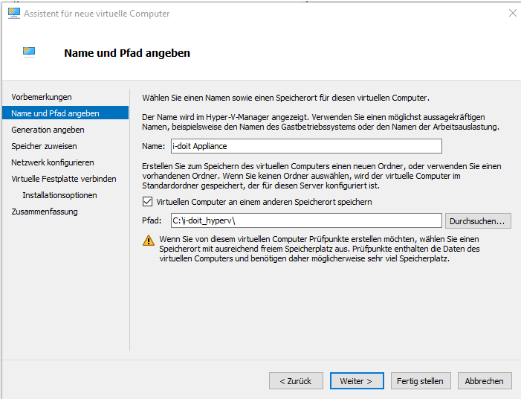
Start the Hyper-V wizard for new virtual machines and specify the folder for the newly created VHD:
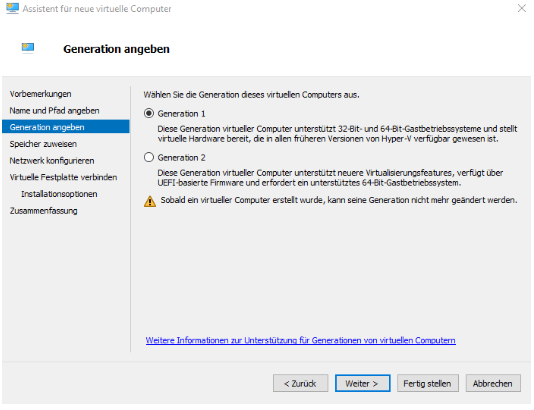
Then select the generation for the new virtual machine:
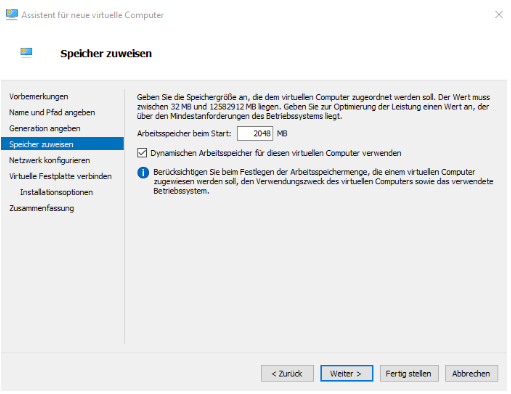
Assign sufficient memory ( system requirements ):
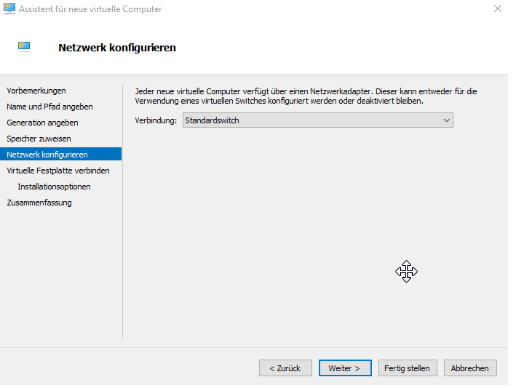
Assign the appropriate network:
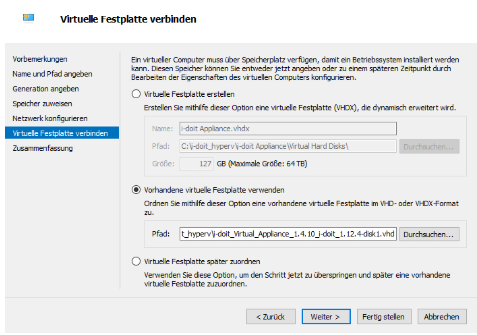
And connect the converted disk image in this step:
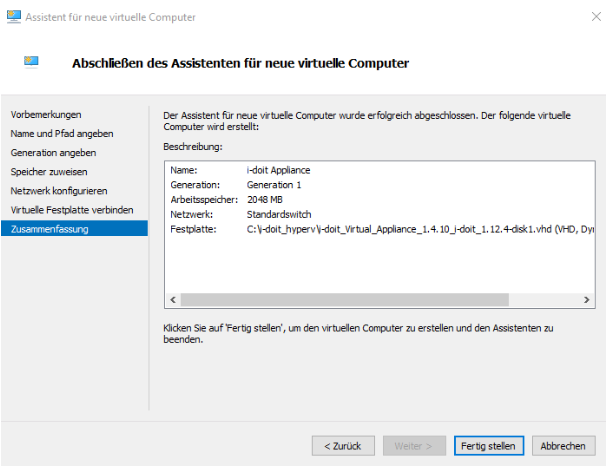
Then you can complete the setup and start the virtual machine:
The virtual machine should now start properly and you should be able to log in with the supplied credentials:
| Login | Username | Password |
|---|---|---|
| Console Login | idoitadm | idoit |
| i-doit Login | admin | admin |
| Admin-Center Login | admin | idoit |