Setting Up the i-doit Virtual Appliance Using VirtualBox (Oracle)#
Basics#
The package we provide contains a virtual machine in OVF format.

OVF (Open Virtualization Format) is an open standard for exchanging virtual machines (VMs) and provides a platform-independent, efficient, secure, and open method for packaging and deploying virtual machines. It was developed by the Distributed Management Task Force (DMTF).
To use the package, you need a virtual environment into which you can import it. Most companies operate virtual environments using, e.g., VMware vSphere or Microsoft Hyper-V.
If you do not yet have a virtual environment in use at your company, you can also use one of the freely available solutions for evaluating our software.
Step 1 - Download and Install VirtualBox#
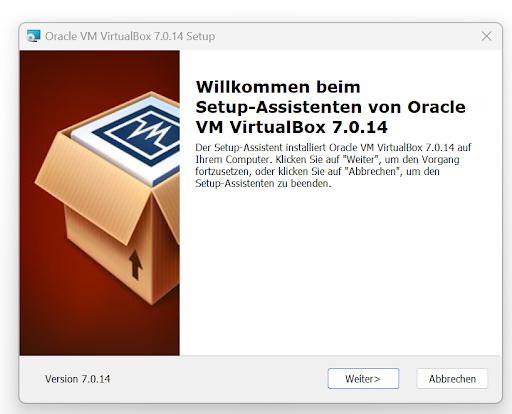
In this article, we use the free product VirtualBox from Oracle, which you can download here: https://www.virtualbox.org/wiki/Downloads for download.
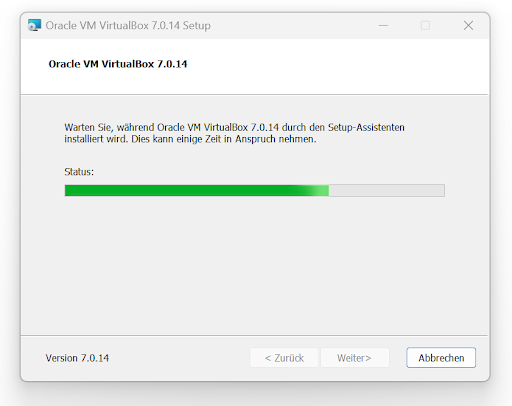
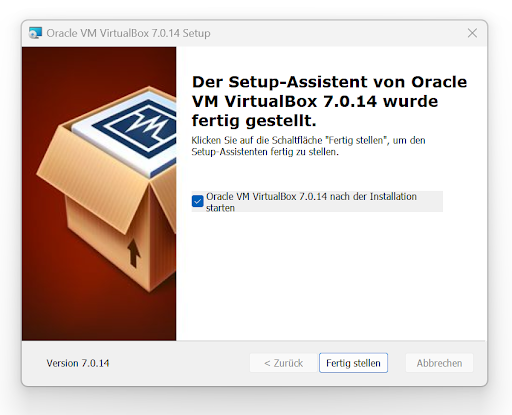
After downloading, you can start the VirtualBox installation:
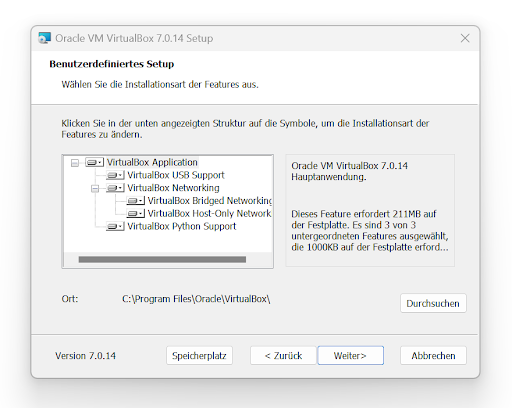
You can leave the installation options at the default settings and confirm the prompts with Next/Yes until the installation is complete:

Step 2 - Import Virtual Machine#
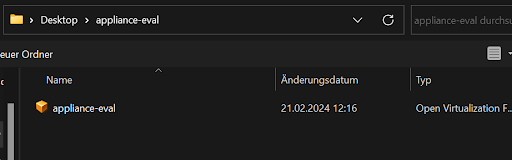
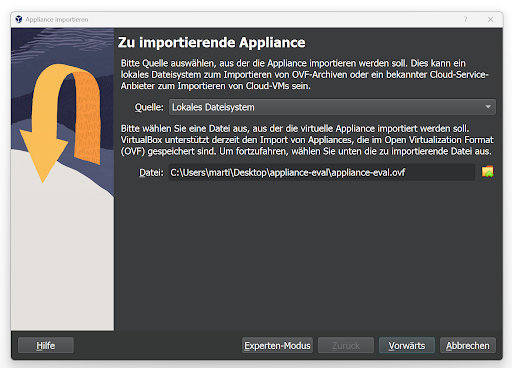
If you have already downloaded the Virtual Appliance, extract the ZIP package on your computer.
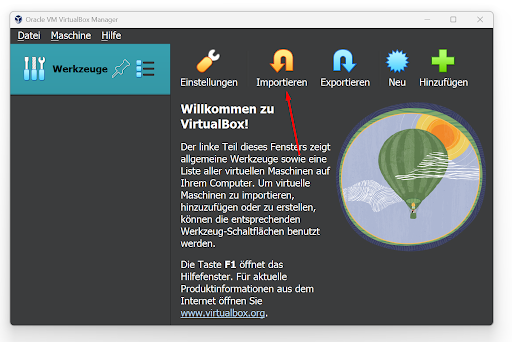
Now start VirtualBox and click the Import button:
And select the appliance-eval file from the extracted ZIP archive:
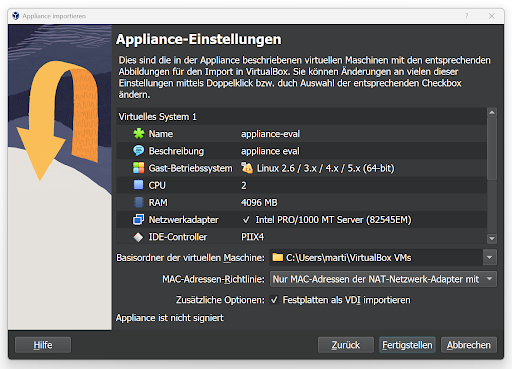
If you want, you can now change the folder where the virtual machine will be stored:
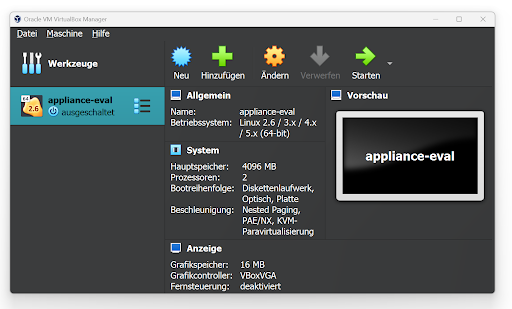
The i-doit Eval Appliance is now ready for use and can be started via the "Start" button:
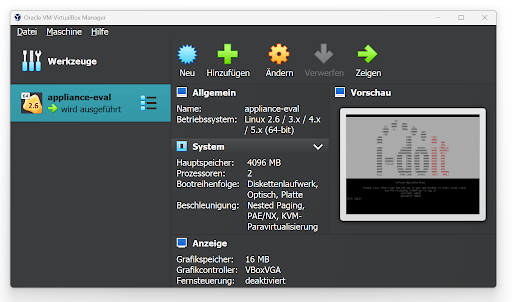
After starting, you can switch to the output screen of the virtual machine via the "Show" button:
The information displayed there also shows you the IP address and the user with which you can log in to your i-doit installation for the first time using your browser:
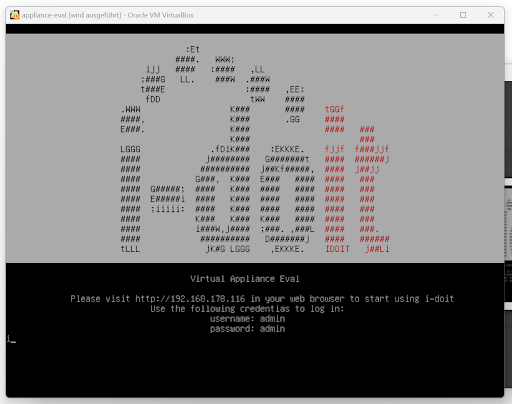
The default user is Admin with the password Admin:

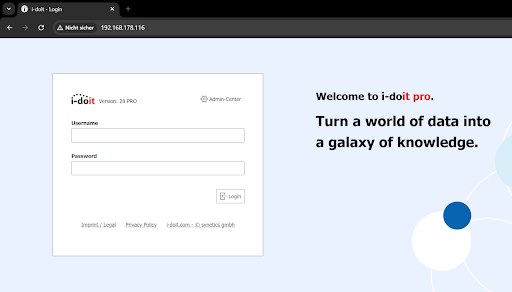
Your browser should display the start screen with the i-doit login form at the specified IP address: