i-doit via XAMPP#
This article describes how to install i-doit on the Windows operating system.
This article was last verified for i-doit version 31
Firewall
For our installation, we disable the Windows Firewall so that RDP and the connection to the web server work. Of course, the applications and ports should be specifically configured in the firewall, but we do not want to focus on this in this guide.
Step 1: installation#
First, download the XAMPP package from https://www.apachefriends.org/de/index.html .
Other packages also work. For example, the compressed package (.zip) can also simply be extracted to C:\.
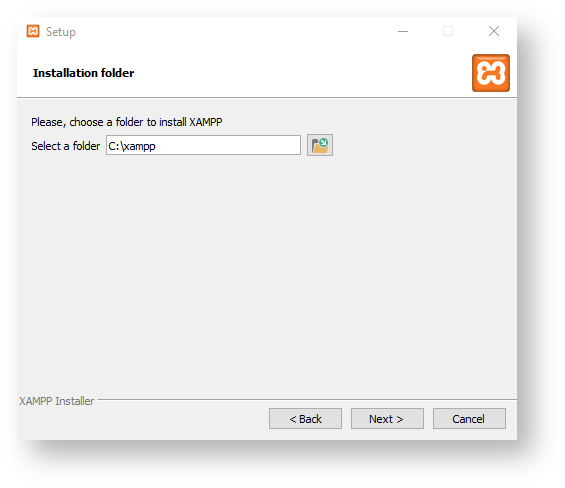
It is important when installing XAMPP that the installation path is "C:\xampp", because the directory "C:\Program Files (x86)" does not have sufficient permissions and therefore the installation will most likely not work correctly.
The system requirements of the respective i-doit version must be observed. Therefore, in this example, the installation package → xampp-windows-x64-8.2.12-0-VS16-installer.exe with PHP 8.2, which has been supported since i-doit 30, is used.
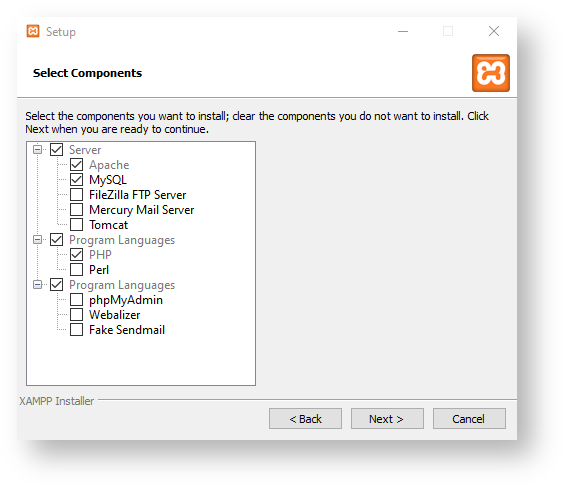
At least the components Apache, MySQL, and PHP must be installed.
The default folder is kept → C:\xampp
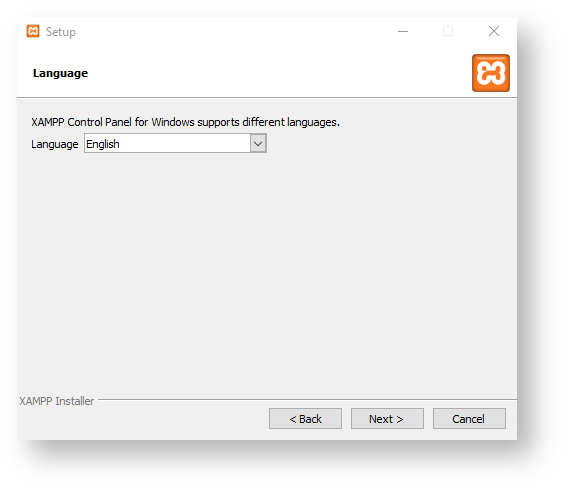
Then we select the language; we keep it at English.
The next Next > buttons should be self-explanatory.
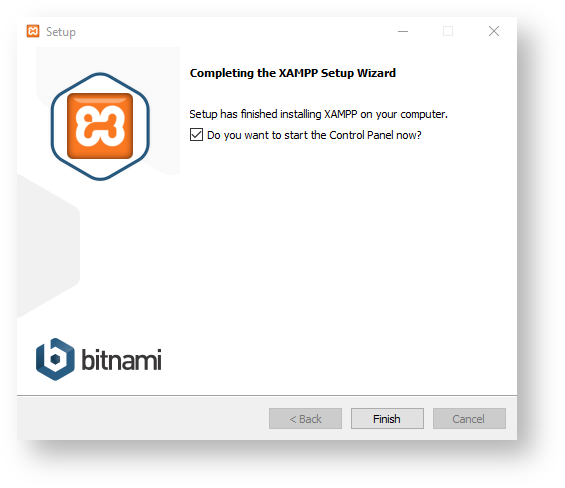
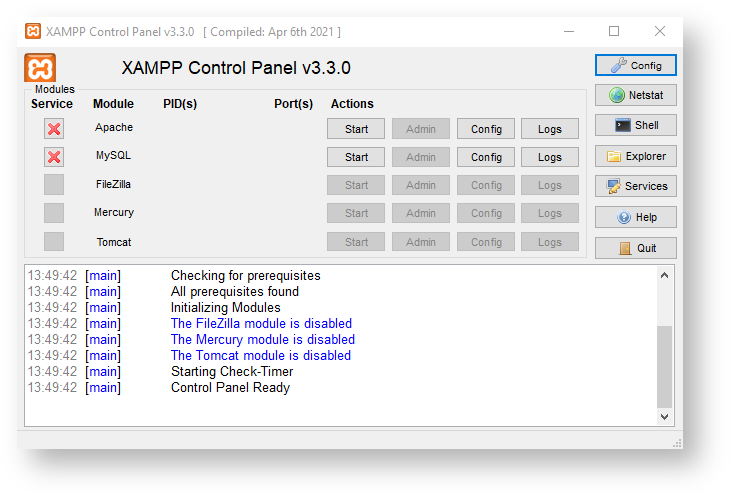
The installation is now complete and we start the XAMPP Control Panel by clicking Finish.
Step 2: Environment Configuration#
PHP#
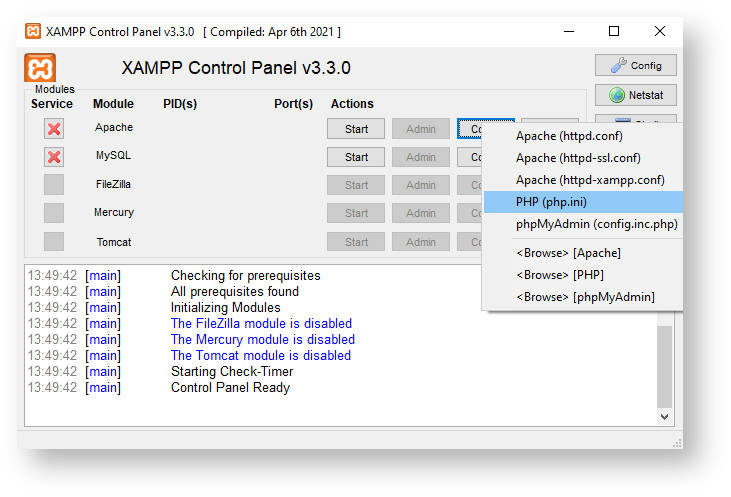
Now we configure PHP. Click the Config button → PHP (php.ini) to open php.ini.
Normally, the file should open automatically in the editor. We add the following settings at the end of the file and save:
1 2 3 4 5 6 7 8 9 10 11 12 13 14 15 16 17 18 19 20 21 22 | |
Additionally, it may be necessary for the LDAP extension to copy the file libsasl.dll from C:\xampp\php to C:\xampp\apache\bin.
Additionally, in the php.ini under Dynamic Extensions, the leading semicolons must be removed from ;extension=ldap and ;extension=gd.
Apache Web Server#
No separate settings for the Apache web server are necessary here.
MySQL/MariaDB#
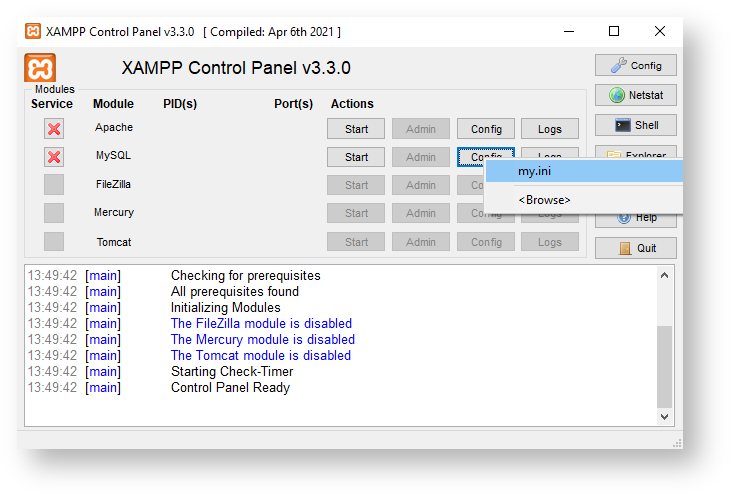
Now we configure MySQL/MariaDB. Click the Config button → my.ini.
Normally, this file should also open automatically in the editor. We also add the following settings at the end of the file and save:
1 2 3 4 5 6 7 8 9 10 11 12 13 14 15 16 17 18 19 20 21 22 23 24 25 26 27 28 29 30 31 32 33 34 35 36 37 38 39 40 41 42 43 44 45 46 47 | |
Step 3: Starting Apache and MySQL#
We click the Start button for Apache and MySQL. A firewall popup may appear.
Both modules should now be highlighted in green.

Password for MySQL root#
Now we should set a password for the MySQL root user.
To do this, we click the  Shell button.
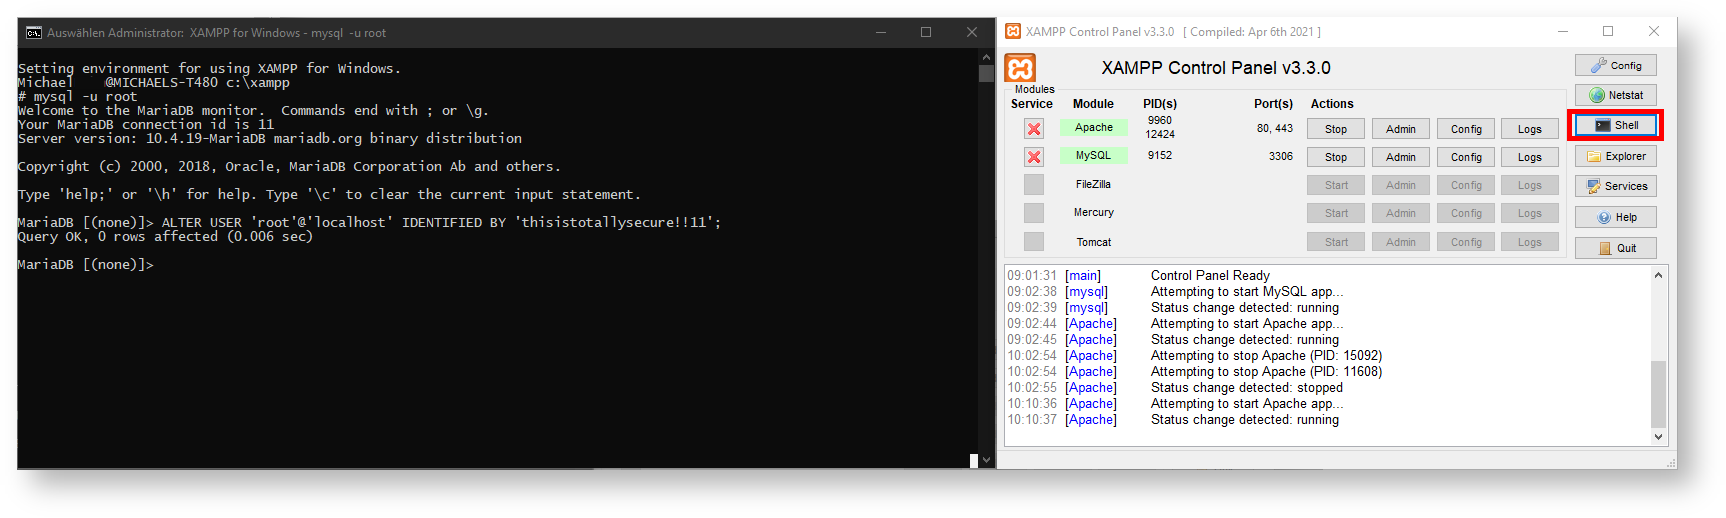
First, we log in:
1 | |
Now we change the password; 'thisistotallysecure!!11' should be replaced with your own password:
1 | |
Step 4: Download and Extract i-doit#
Download and Extract i-doit#
Now we download i-doit in the latest version from the customer portal.
Extract the idoit-xx.x.zip to C:\xampp\htdocs and rename the idoit-xx.x folder to idoit.
Step 5: Verify the installation#
With the previous configuration, we have prepared the web server. Now, when we open the IP of the system or localhost in a browser, the Apache welcome page should be displayed.
Under PHPInfo in the menu, you can verify whether the values set in php.ini have been correctly applied.
Next Step#
The operating system is now prepared so that i-doit can be installed:
FAQ#
With XAMPP "xampp-windows-x64-8.0.23-0-VS16-installer" a new version of the PHP gd extension was added.
Therefore, the php.ini should not be replaced with the PHP7.4 version.
In PHP 7.4, this was called extension=gd2, and in PHP 8.0 it is called extension=gd.