Update i-doit#
Always keep i-doit up to date. Minor releases (approximately every four weeks) contain bug fixes, while major releases (approximately every six months) also bring new features.
You have two ways to update:
- Update via the web interface -- requires internet access (optionally via HTTP proxy)
- Prepare update via the console -- manually upload the package, then continue via the web interface
Skip releases from version 20
If you want to jump directly to a newer version, e.g., 26, you can download the latest update package from the customer portal and extract it in the i-doit folder. The necessary steps can be found under prepare update via the console. From version 25 with hotfix, version 27 is also offered for download in the update check.
Skip releases before version 20
If version 1.13.1 is currently installed and version 1.13.3 is already available, only the next higher version -- 1.13.2 -- is displayed. However, minor releases can generally be skipped. Nevertheless, via this method all minor releases are installed individually until the latest version is reached. If you want to jump directly to version 1.13.3, you can download the latest package from the customer portal and extract it on the i-doit host. The necessary steps can be found here.
Backup
Before the update, you should always create a backup.
Missing write permissions
If an error message appears during download and extraction, it is often the case that the Apache web server does not have write permissions for the path where i-doit is installed. More details here
Update via the Web Interface#
Open the update via one of the following methods:
- Administration > [Tenant Name] Administration > i-doit Update
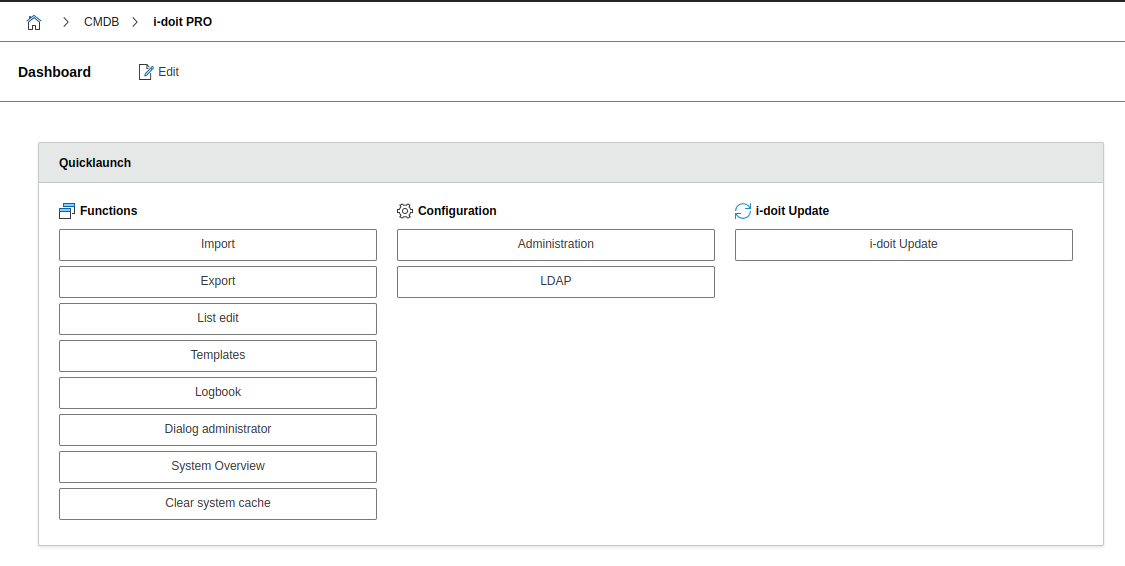
- Quicklaunch widget on the dashboard
- Direct URL:
http://i-doit-host/i-doit/?load=update
i-doit checks the current system status. If something is not right, compare the system requirements and system settings. After adjustments, everything should be green or show "OK".
Step 1: i-doit Update and Compatibility Check#

Step 2: Available Updates#
Here you can see all available update packages.
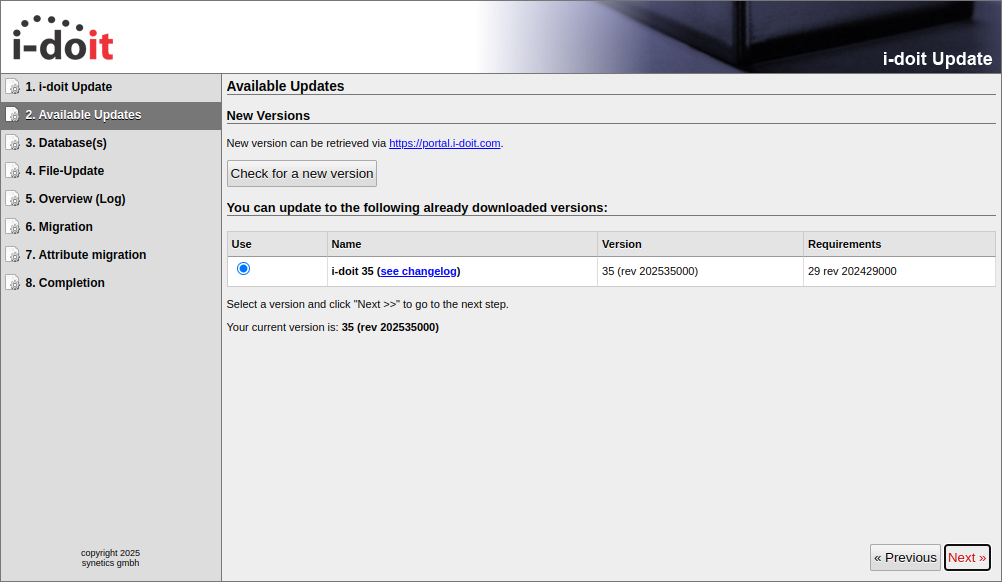
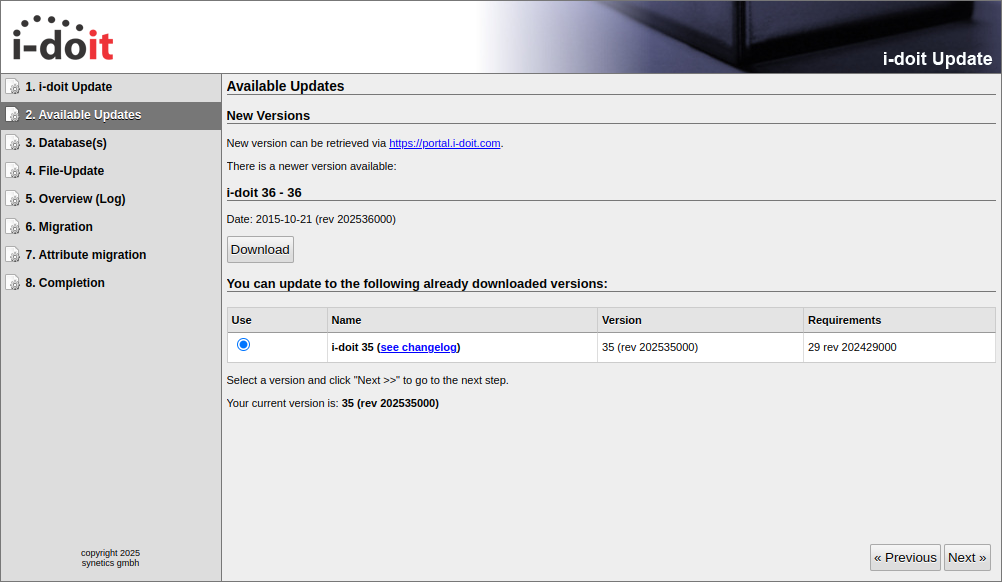
- Check for a new version -- checks which latest version is available.
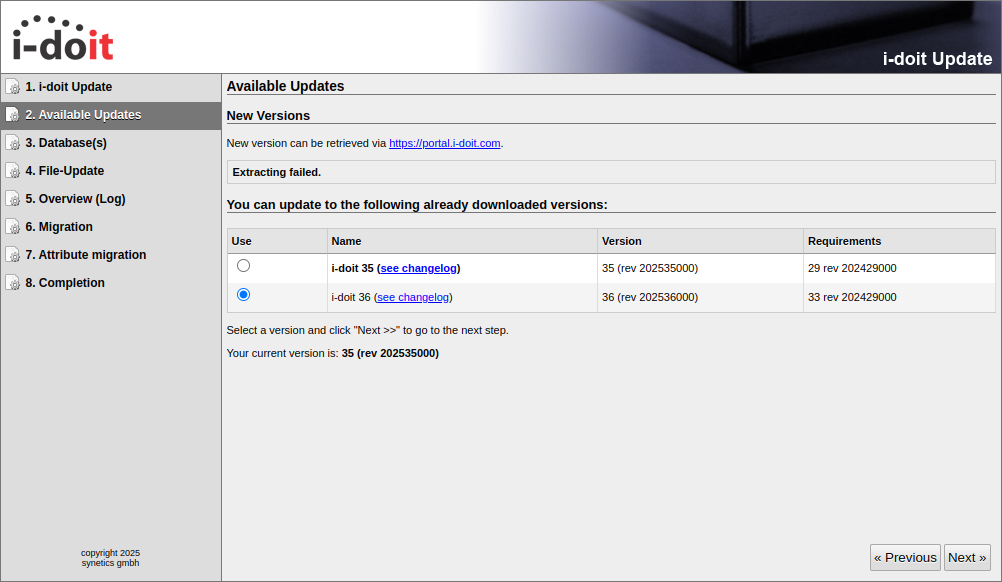
- Download -- downloads the update package and extracts it.
- If you have a URL, paste it in and click Download and extract.
Select the new version and click Next. Under see changelog you will find a list of changes.
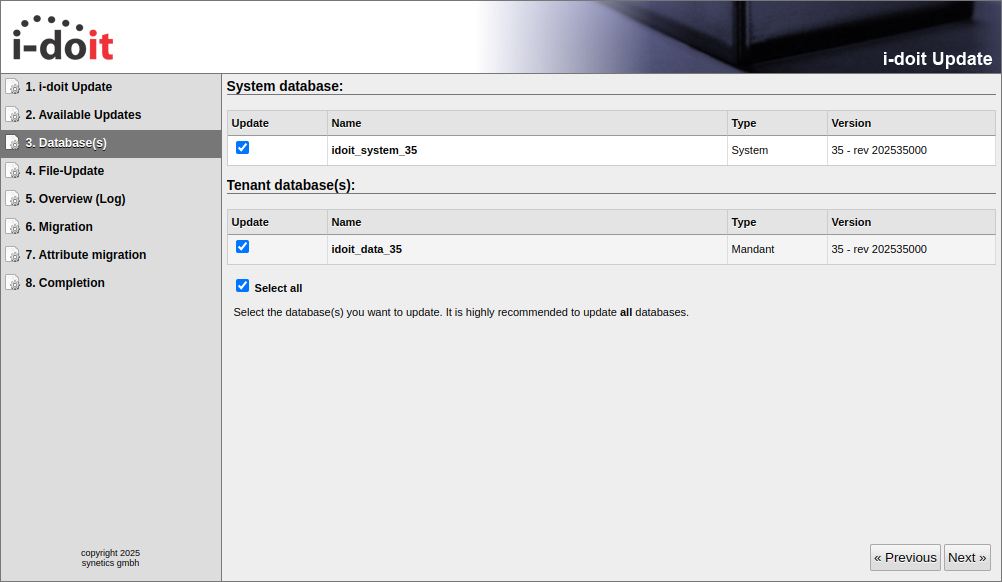
Step 3: Database(s)#
The system database and all tenants are usually already selected. Leave the checkboxes checked unless you have a reason to exclude individual tenants.
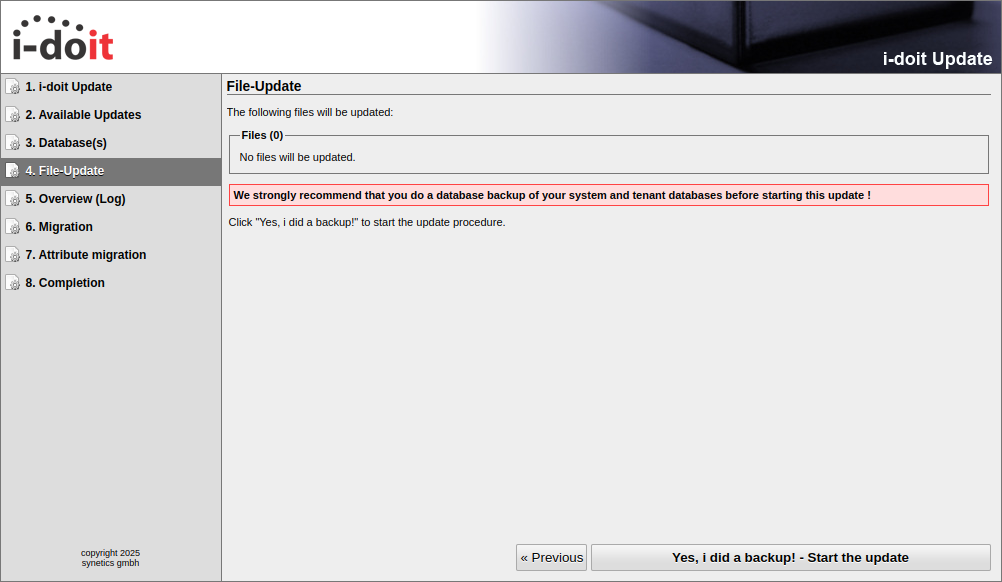
Step 4: File Update#
At this point you should have a backup. Click Yes, I did a backup! - Start the update to start the update.
Step 5: Overview (Log)#
Check the log: green "DONE" means success, red "ERROR" indicates a problem (often missing write permissions). If all entries are green, click Next.

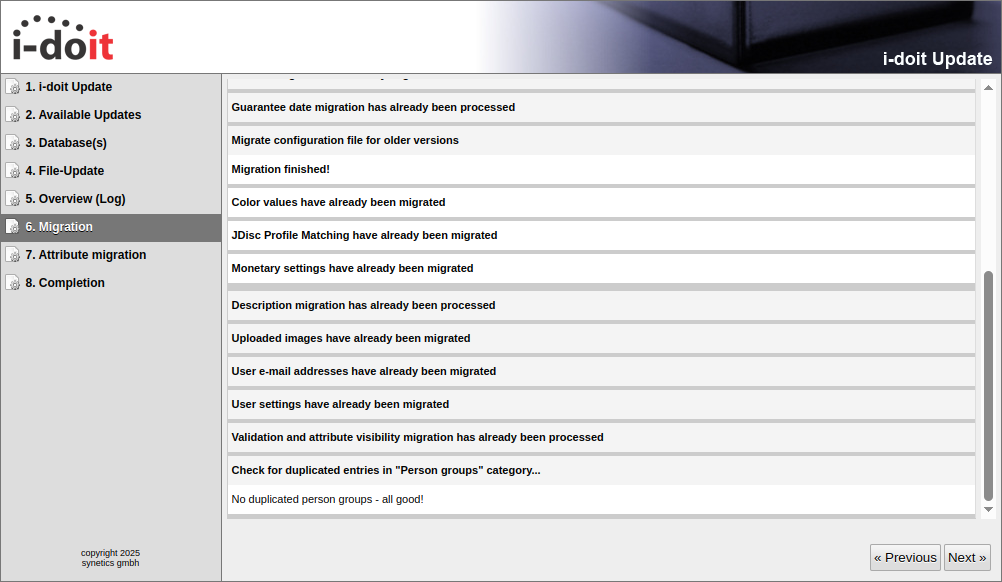
Step 6: Migration#
Depending on the update, changes are made to existing data. The "Migration" step executes these and reports whether the changes were successful.
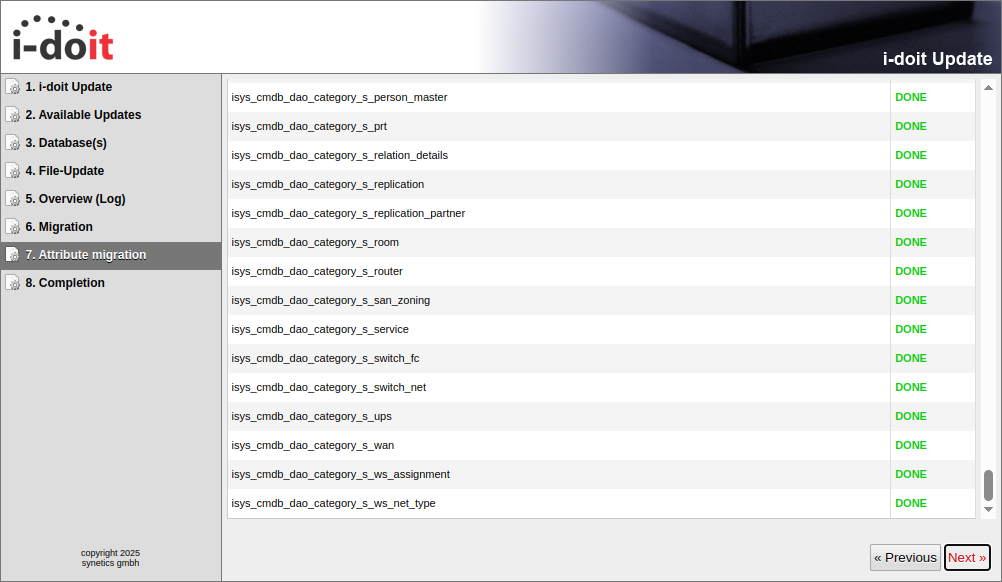
Step 7: Attribute Migration#
After the so-called "Property Migration", everything should also be displayed in green here.
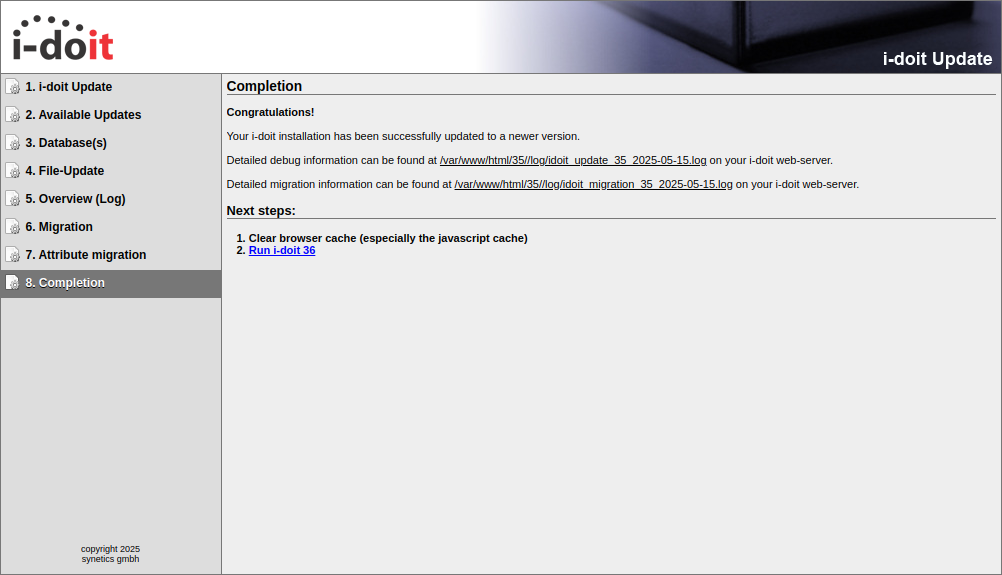
Step 8: Completion#
The update is complete. Details can be found in the linked log file. Click Run i-doit v.[VERSION] to return. Then clear the browser and i-doit cache under Administration > [Tenant Name] Administration > System Repair and Cleanup.
Prepare Update via the Console#
Download the latest update package from the customer portal or from the Download Links page and transfer it to the server (e.g., via WinSCP). Move the package to the i-doit main directory:
1 | |
Extract the package and overwrite existing files:
1 2 | |
Adjust the file permissions so that the web server has read and write access:
The user:group combination www-data:www-data used here refers to Debian GNU/Linux or Ubuntu Linux. If a different operating system is used, the user:group combination must be adjusted accordingly.
1 2 3 4 | |
Now continue with the update via the web interface and skip the download steps.
Update via the Console Using console.php#
Backup
Always create a backup before the update.
You can also perform the update entirely via the console.php. Switch to the i-doit directory:
1 | |
Run the update command and answer the interactive questions:
1 | |
Alternatively, provide all parameters directly. Example for an update to version 38:
1 | |
After the Update#
Perform the following steps after every update: