Update i-doit#
When working with i-doit, you should always use the newest version. Minor releases always contain numerous bug fixes, while major releases add new features and improve already existing functionalities. Minor updates are released approximately every four weeks and major updates every six months. The update can be performed via the web interface of i-doit, as long as an internet connection is available (and where applicable, via HTTP-proxy). Alternatively the update can be prepared via console and then be continued in the web interface.
Skip releases >= version 20
If you want to jump directly to a newer version e.g. 26, you can download the latest update package from the customer portal and unpack it in the i-doit folder on the i-doit host. You can find the necessary steps here. From version 25 with Hotfix, version 27 is also offered for download during the update check.
Skip releases version <= 1.19
If version 1.13.1 is currently installed and version 1.13.3 is already available, only the next higher version - i.e. 1.13.2 - will still be displayed. However, minor releases can generally be skipped. Nevertheless, all minor releases will be installed one by one until the latest version is reached. If you want to jump directly to version 1.13.3, you can download the latest package from the customer portal and unpack it on the i-doit host. You can find the necessary steps here in the lower part of the article.
Backup
Before updating it is essential to create a backup.
Writing permissions
If an error message appears while downloading and extracting, it is often the case that the Apache Webserver has no writing permissions for the path in which i-doit is installed. See here
Update via the web interface#
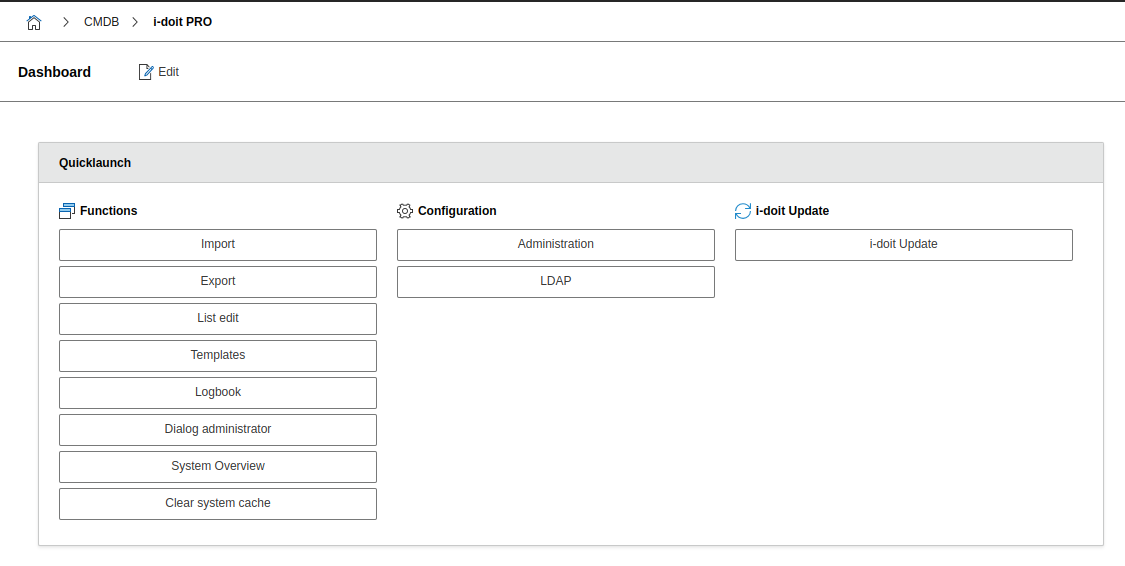
The update can be accessed either through Administration → [Tenant-Name] management by clicking on the i-doit update button near the headline or via the quicklaunch widget in the dashboard or through the URL http://i-doit-host/i-doit/?load=update.
After launching the program, a separate interface will open to check the current status of your system. If you encounter any problems, please refer to our . system requirements section and tenant management. After adjusting the environment, everything should be checked with a green mark or marked with an "OK".
Step 1: i-doit update and compatibility check#
Step 2: Available updates#
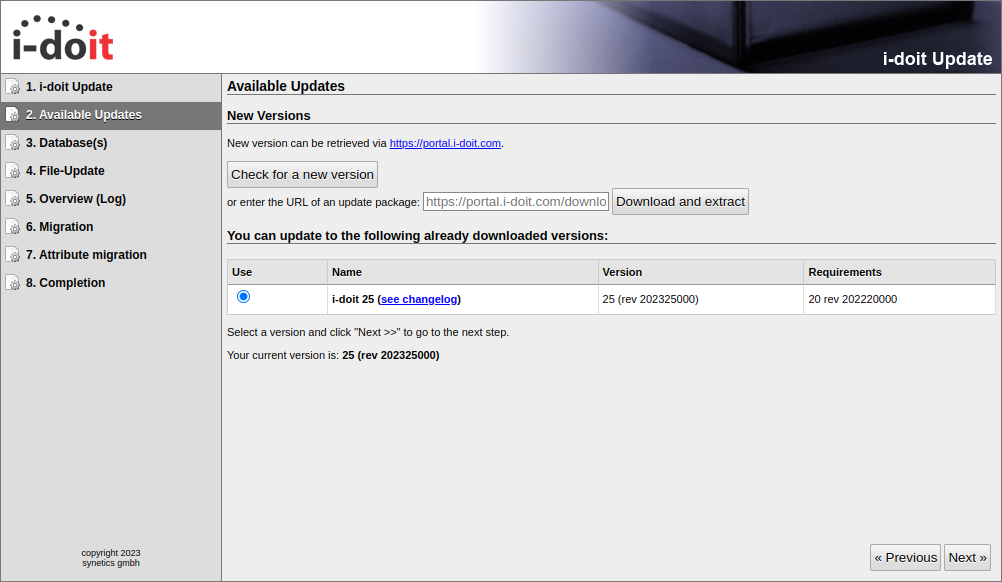
In the this step, all available update packages are displayed. In our example i-doit version 25 is installed and can therefore only be updated to the same version.
By clicking Check for a new version you can check whether a newer package is available. For this purpose, you require an internet connection.
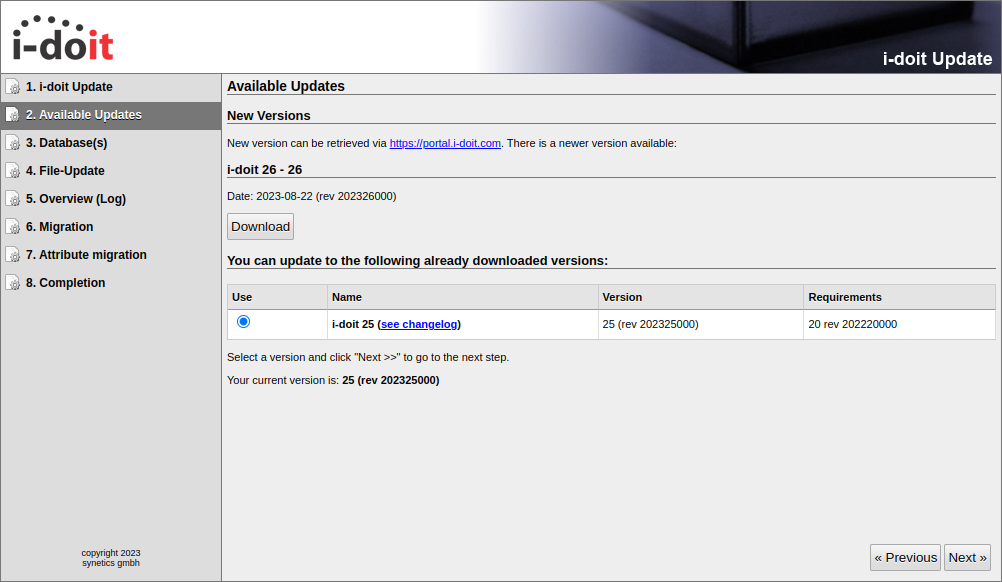
If a new version is available the update package can be downloaded and extracted with a click on Download.
If the you have a URL for the update package, you can insert the Link and click on Download and extract.
Now a new version is available for updating. The update can be started by clicking Next. To see all notable changes for this package you can find a list under see changelog.
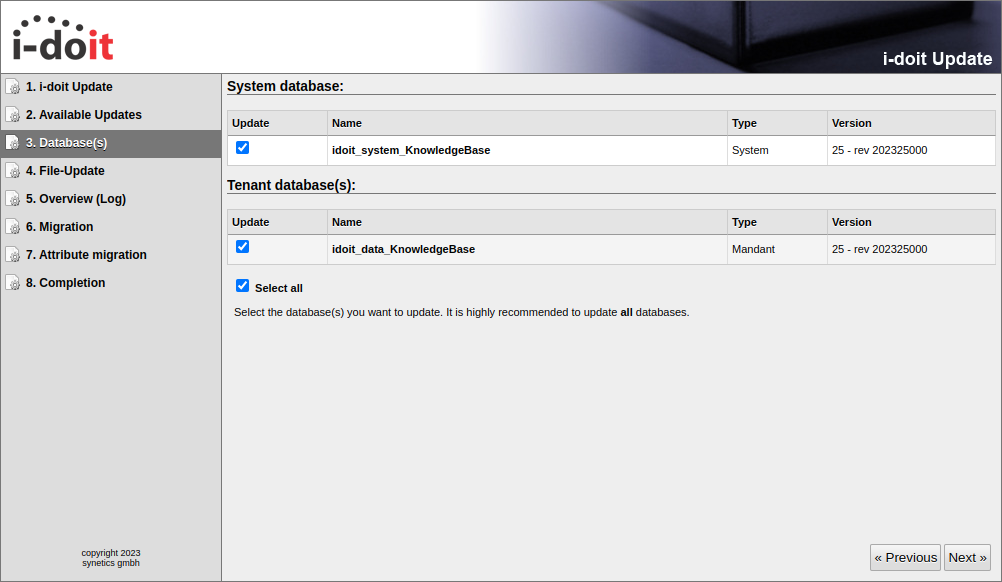
Step 3: Database(s)#
Usually, the boxes are checked like shown in the screenshot, so that both the system database and all associated mandator databases are selected for the update by default. If there is no reason not to update particular mandator databases, all selections should be kept.
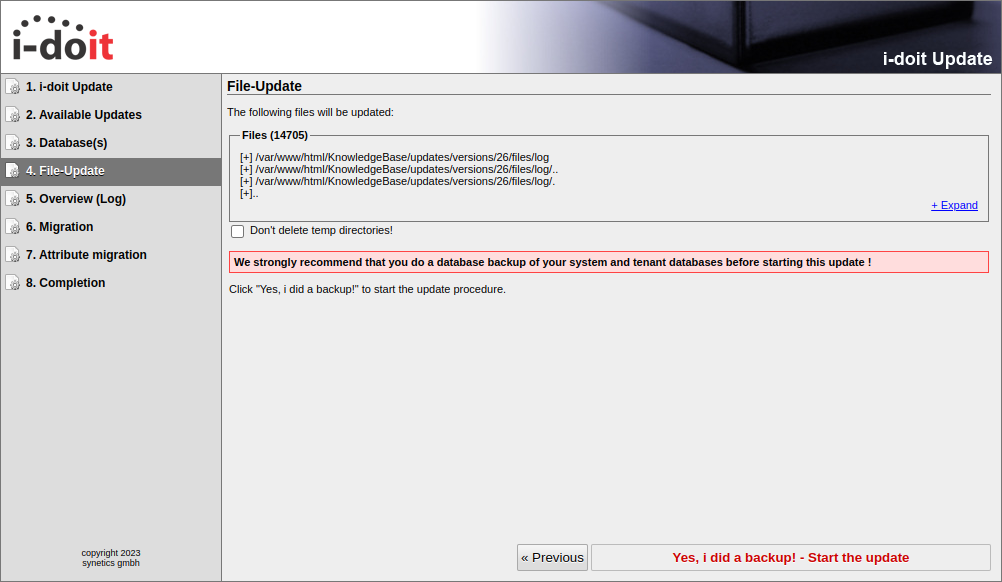
Step 4: File-Update#
Now at the very latest, a backup should be performed. As soon as there is a backup you can start the update by clicking the button Yes, I did a backup! - Start the update.
Step 5: Overview (Log)#
Each change may have effects on files and databases. If something goes wrong (typically because of missing writing permissions) a red "ERROR" appears. If a green "DONE" is displayed for each change, you can go on to the next step by clicking Next.
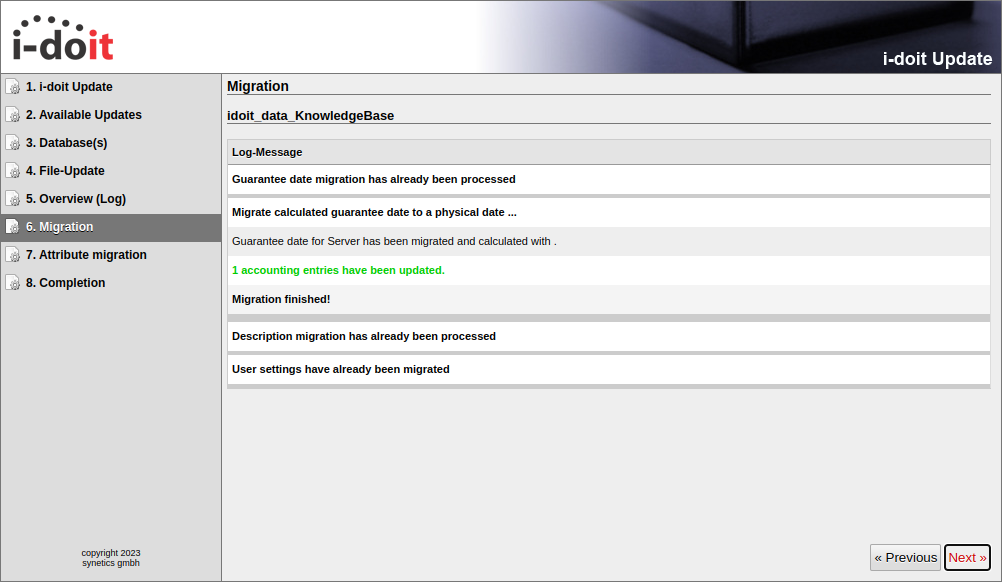
Step 6: Migration#
Depending on the update, existing data will be changed. The "Migration" step executes these changes and reports whether these changes were successful or not.
Step 7: Attribute migration#
Following the so called "Property Migration", everything should be marked green again.
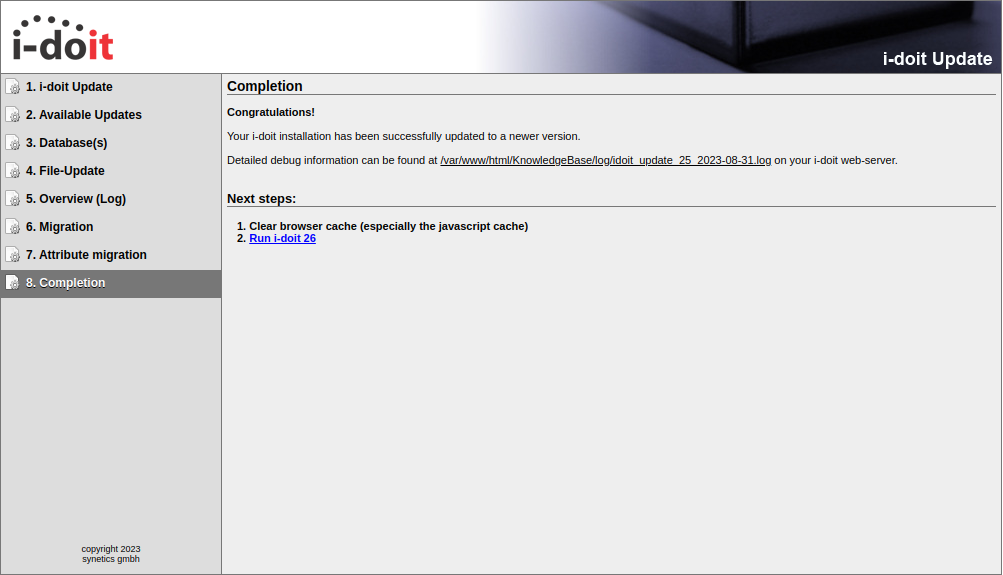
Step 8: Completion#
Now the update is completed. More detailed information about the update can be found in the linked log-file. You can return to i-doit by clicking Run i-doit v.[VERSION]. It is recommended to clear both the browser and the i-doit-cache under Administration → [Tenant-Name] management → Repair and clean up.
Update prepared via the console#
The update can be prepared, but not executed via the console. For the preparation, the latest update package has to be downloaded from the i-doit customer portal.
The update package can be stored on the server (for example, via WinSCP). Move the package to the main folder of i-doit afterwards, if you didn't already put it there. This can be carried out by using the following command:
1 | |
Then the package needs to be extracted and all existing files need to be overwritten.
1 2 | |
Now the file permissions are being adjusted in order to give the Webserver both reading access as well as writing access to i-doit.
The user:group combination www-data:www-data used here refers to Debian GNU/Linux or Ubuntu Linux.
If another operating system is used, the used user:group combination must be adapted.
1 2 3 4 | |
Now you can have a look at our instructions for the update via the web interface and skip the steps regarding the download of the newest package.
Update via console.php#
Backup
Before updating, it is essential to make a backup.
If you want to run the update via the console, use console.php. To do this, use the update command with console.php.
First, we switch to the i-doit root directory:
1 | |
Then we execute the update command and have to answer a few interactive questions before the update can be carried out:
1 | |
We can also provide the command with all necessary parameters directly. To update i-doit version 35 to version 36, the command is as follows:
1 | |
After the update#
After the update, clear the cache and refresh the search index.
The reports should also be updated. More information can be found under Report Manager.
