Multi-Tenants#
i-doit is capable of managing multiple tenants. This means that one installation can map one or more independent IT documentations. The use cases are diverse: from sub-organizations which need to document separately of each other to system houses, which document customer IT in dedicated instances, to hosting providers which provide i-doit as a service.
Licensing
For the capability to operate one installation with multiple tenants a special license is required. More information is available on request.
Background#
A separate database exists in i-doit for each tenant. In this database all contents as well as configurations are saved. This way, various completely different IT documentations can be maintained in one instance of i-doit. An exchange between tenants is not intended. This strict separation is also the reason for the Admin-Center being available as a higher level administration instance.
Configuration#
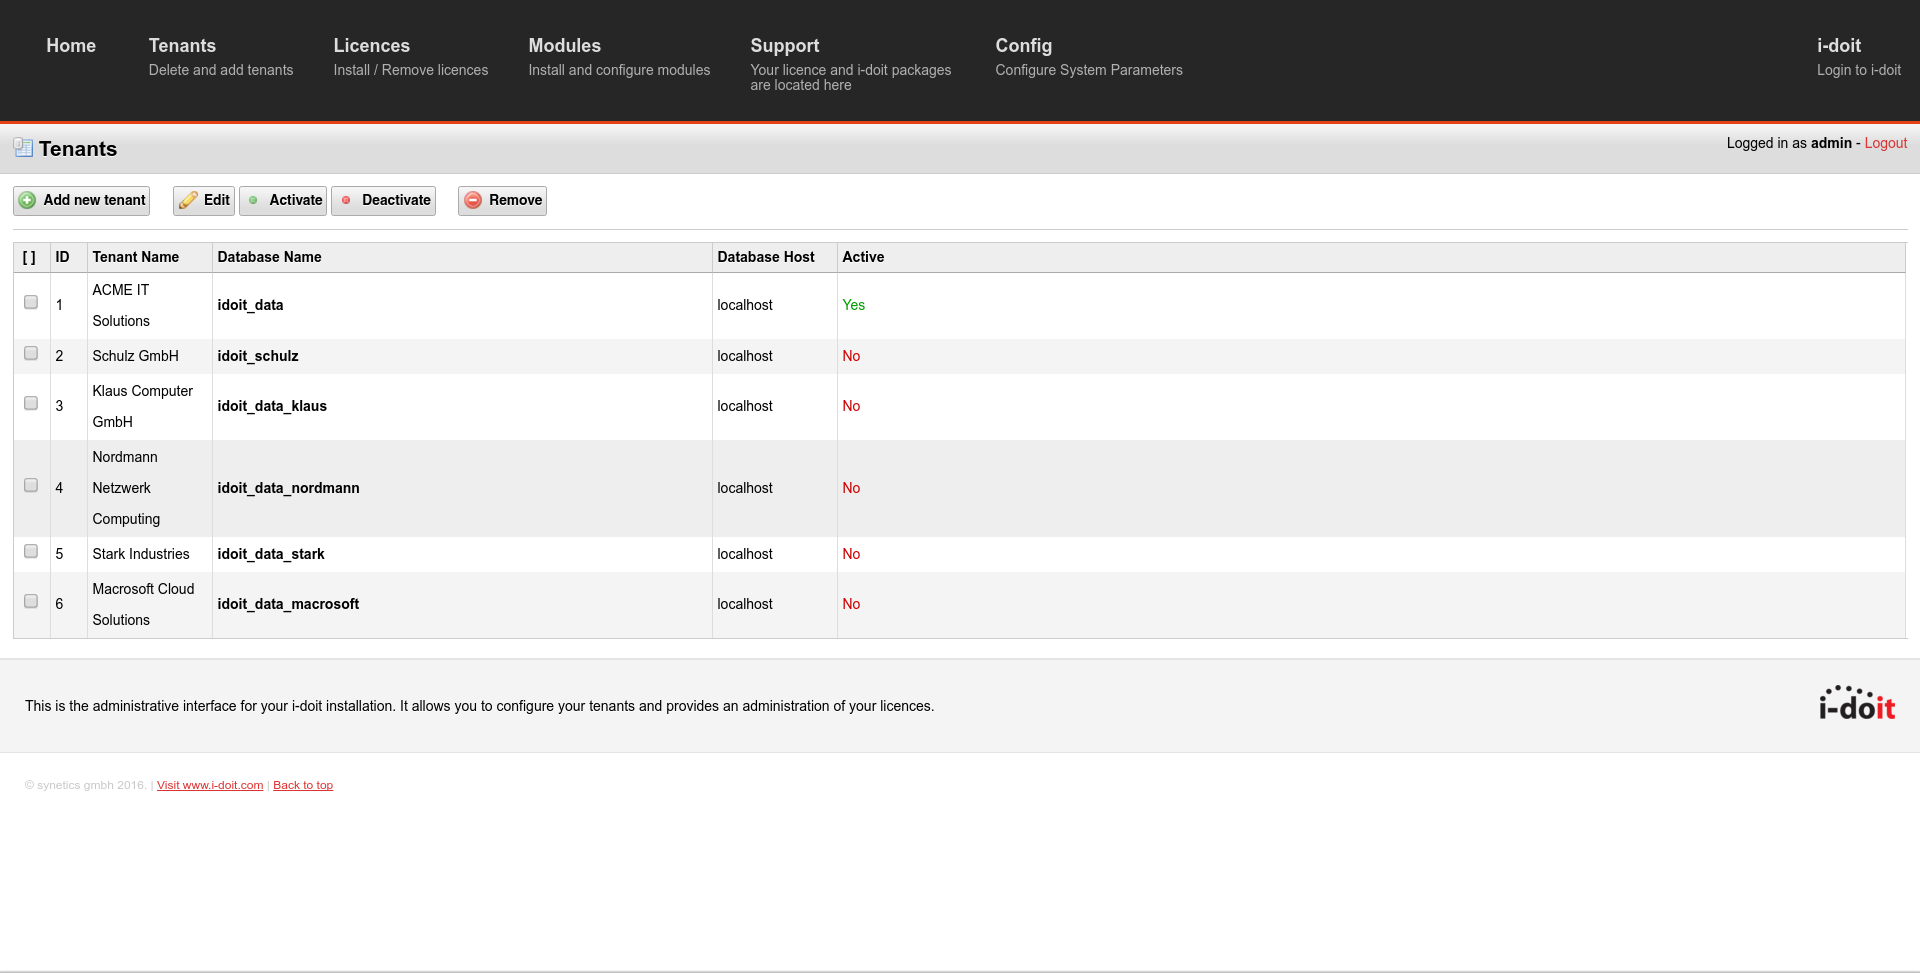
The administration of tenants is done in the Admin-Center. All presently created tenants are listed in the Tenants section.
Above the listing various options are available:
- Add new tenant: create a new tenant
- Edit: configure an existing tenant
- Activate: activate an existing tenant, if it was deactivated before
- Deactivate: deactivate an existing tenant, if it was activated before
- Remove: remove an existing tenant irreversibly
A tenant is selected via the checkboxes for the configuration. For (de-)activating or removing one or more tenants are selected.
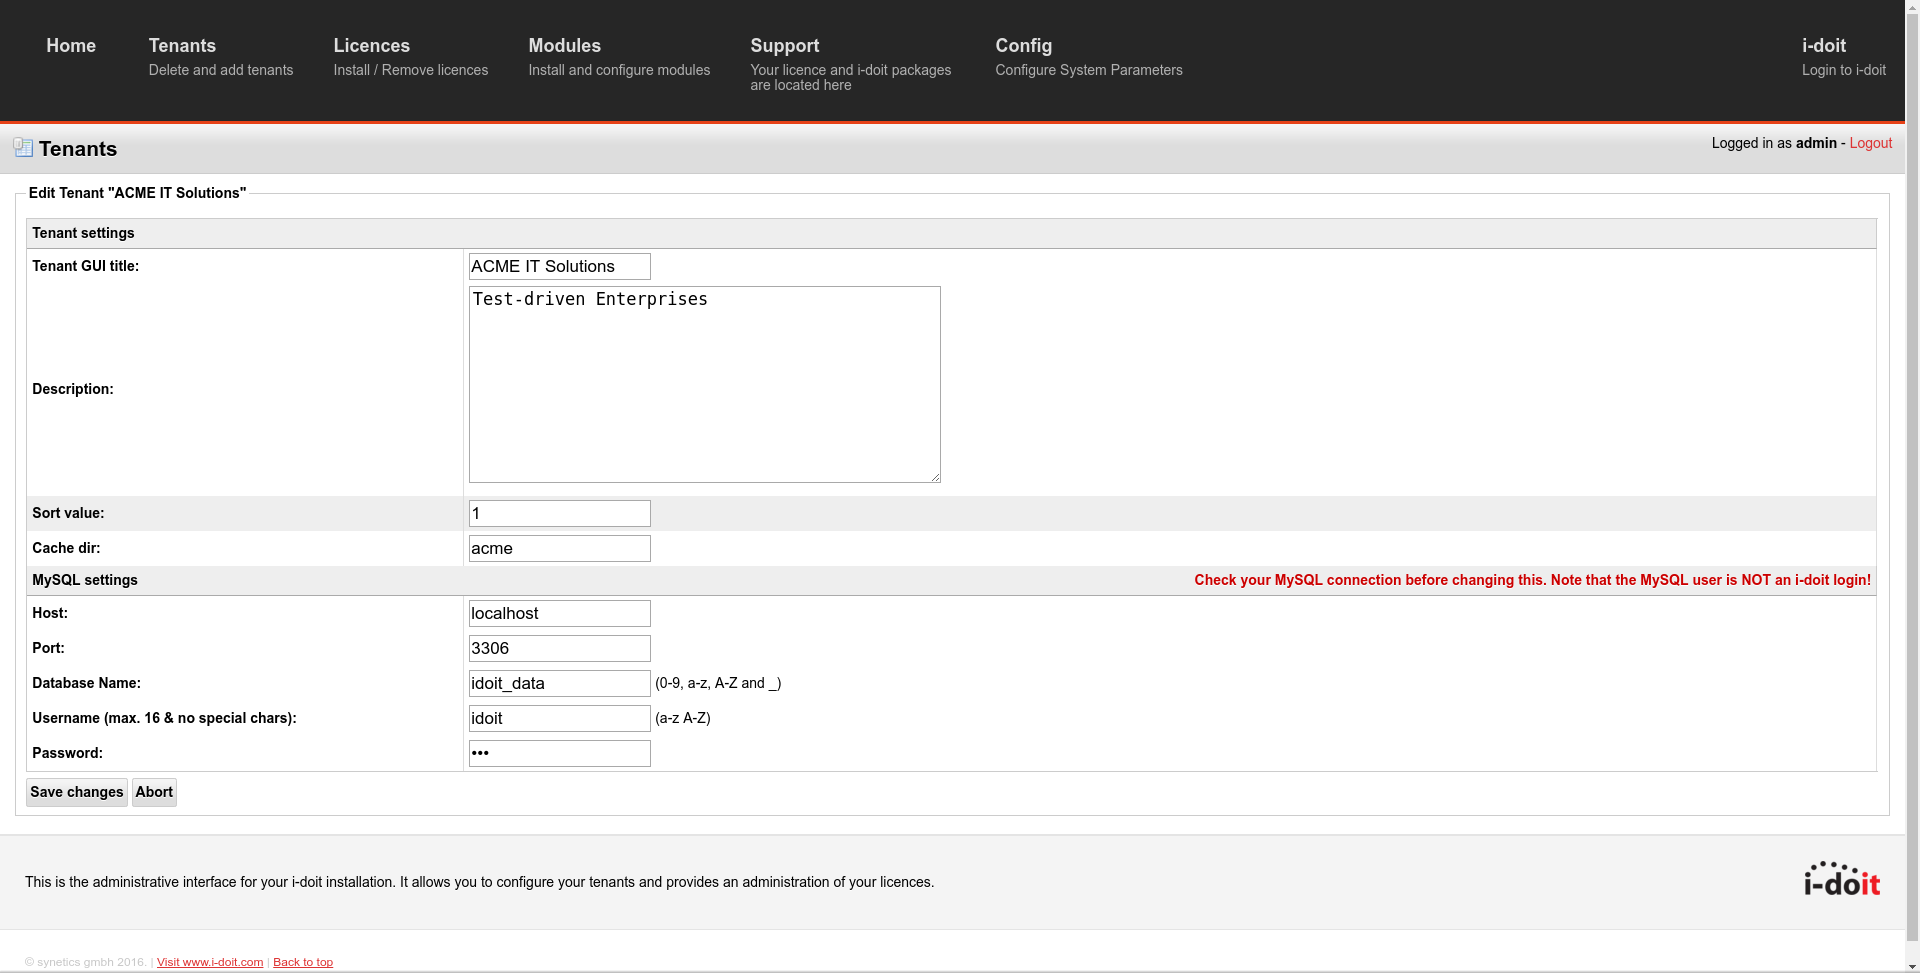
For each tenant you need to set some properties (mandatory fields):
- Tenant GUI title: name of the tenant (is shown at the login, for example)
- Description: apart from its informal character this description has no effect on the functionality
- Sort value: enter the sorting order as integer (the lower the value the higher is the tenant in the hierarchy)
- Cache dir: much data is temporarily saved in i-doit due to performance reasons. For each tenant a dedicated cache folder is created in the temp/ folder in the installation path of i-doit.
- MySQL settings: here it is useful to name the database name with the prefix idoit_. The first tenant receives the database name idoit_data in the installation process by default.
Object Limitation per Tenant#
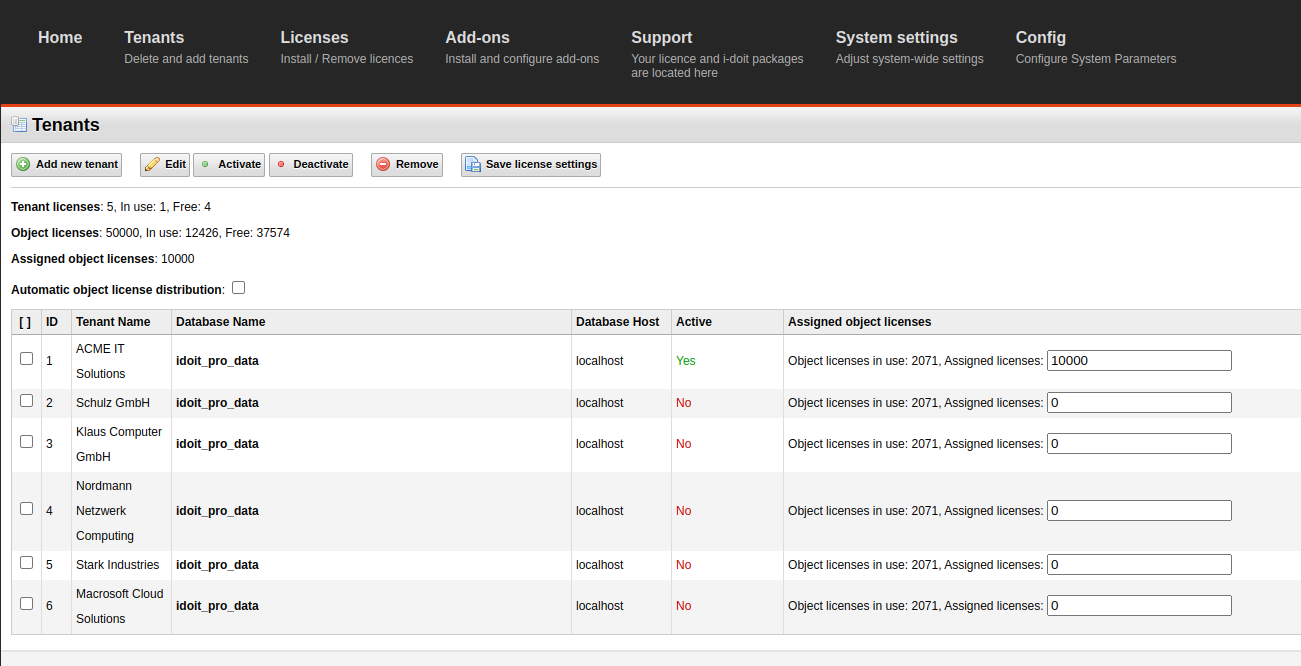
Provided you use a multi-tenant license, you can set the maximum number of license required objects that are allowed to be documented for each tenant. This is done in the Admin-Center at Licenses. The parameter Object limit (integer) exists there for each tenant.
Add-ons per Tenant#
In the installation/update process of add-ons you can choose whether this action shall be carried out for a single tenant or for all tenants. All installed add-ons are displayed per tenant in the Admin-Center in Modules. They can be (de-)activated per tenant. The deletion of add-ons takes place for all tenants.
i-doit update
In the update process of i-doit a prompt will ask which tenant databases shall be updated. All of them are marked as selected by default. It is strongly recommended to take all tenant databases into account when updating. A deviation only applies in specific and well justified cases (by the support, for example).
User Administration#
The user administration is configured per tenant, which means that person objects with login data can vary depending on the tenant.
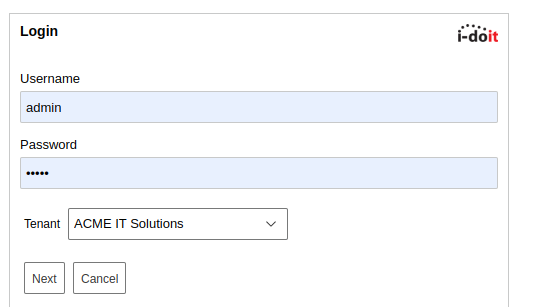
At the login screen you are asked which tenant you want to sign in if multiple tenants are active. However, this only happens if the credentials of the user are the same for multiple tenants. Otherwise, the tenant for which the credentials are valid is loaded automatically .
If a LDAP folder/Active Directory (AD) is tied to the authentication and authorization, then the configured servers will be queried one after another while logging in, to check whether the credentials are valid. After this, the tenants for which these credentials are valid are determined (see above).
If Single Sign On (SSO) is active, a tenant can be chosen as default. This is done at Administration → System settings → Single Sign On → Default tenant. When starting i-doit, the user is automatically tied to this tenant if the credentials are correct.
Switch Tenants#
You can switch between tenants without having to log out first. The main navigation bar displays the user and the tenant you are currently using. Hovering above the tenant name with your cursor shows a drop-down menu. Here the other tenants are selectable. Clicking on one will sign off the user from the current tenant and sign him in automatically to the new one. This however only works if the credentials of the user are the same in both tenants.


