Migration from Linux to Windows#
This article explains how to migrate your i-doit installation under Linux to a Windows server. The i-doit instance was installed on the Windows Server with the i-doit Windows Installer.
Preparation and Assumptions#
Both systems must be on the same i-doit version!
Before you start, there are a few things to consider. The aim should be to move without long downtime and above all without data loss. Everyone who works with i-doit data should be informed about the migration in good time. Nothing is worse than angry colleagues whose work has been interrupted.
You should also identify which interfaces are used by i-doit. Specifically: Which third-party systems such as Nagios, ((OTRS)) Community Edition & Co. access i-doit? Data access should be switched off during the move. The same applies to running Tasks, Backups and monitoring, which monitors that a running web server on the Windows system on port 80/443 is responding to HTTP requests.
As i-doit was installed on the Windows server using the i-doit Windows Installer, apache2, PHP and MariaDB are already sufficiently configured. In the following, we will only refer to MySQL, even if MariaDB is used. If changes have been made to the configuration under Linux, these should also be added to the new system. All services that i-doit expects should be accessible on the new system: DNS, SMTP, LDAP/AD. Is everything working? Okay, you're ready to go.
One last thing: We should have all system user accounts and their passwords ready that are used on the old and new system. This includes MySQL system users (root) and the i-doit user for MySQL (idoit by default).
Export Data from Linux#
To avoid having to transfer the files individually and to pack them into an archive, we use the zip command:
1 | |
If your i-doit instance is under a different path, adjust the command accordingly. Now you only need to download the ZIP file or transfer it to the Windows server. You can use scp to transfer the ZIP file. We execute the following command on the Windows server:
1 | |
Export the Database from Linux#
Please note that if you are using the following MariaDB versions to dump the database, it will result in an error when importing the dump under Windows:
- 10.5.25
- 10.6.18
- 10.11.8
- 11.0.6
- 11.1.5
- 11.2.4
- 11.4.2
The listed versions write a "Sandbox command" in the first line of an SQL dump. This means that this dump can only be imported with the listed MariaDB versions, as the MariaDB version installed with the Windows installer is not one of the listed versions, you will encounter the error ERROR at line 1: Unknown command '\-' when importing. We therefore recommend using a different MariaDB version for the dump, which is not listed above!
Next, we need to export the database and transfer it to the Windows server as well. To export the database successfully, the following commands must be executed:
1 2 | |
Once the two databases have been exported, we must then transfer the two SQL files to the Windows server as well:
1 2 | |
The SQL files are now located on the Windows server under C:\
Set MariaDB path in Windows#
So that we can execute the MySQL commands in the command prompt in the next steps without having to log into the MySQL interface first, we will enter the path to MariaDB in the environment variables.
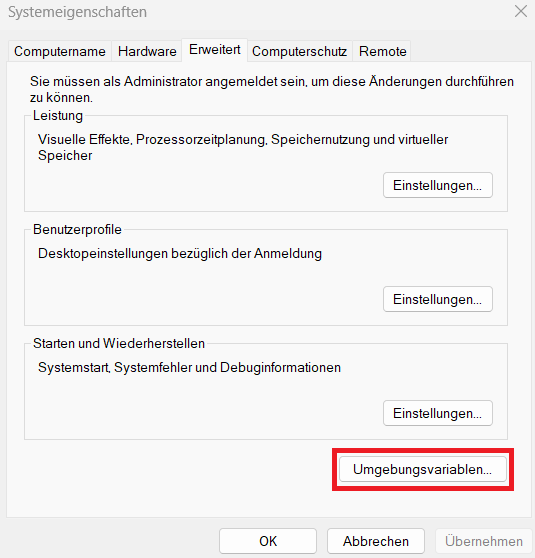
First, search for "Advanced system settings" via the Windows search and click on the "Environment variables..." button.
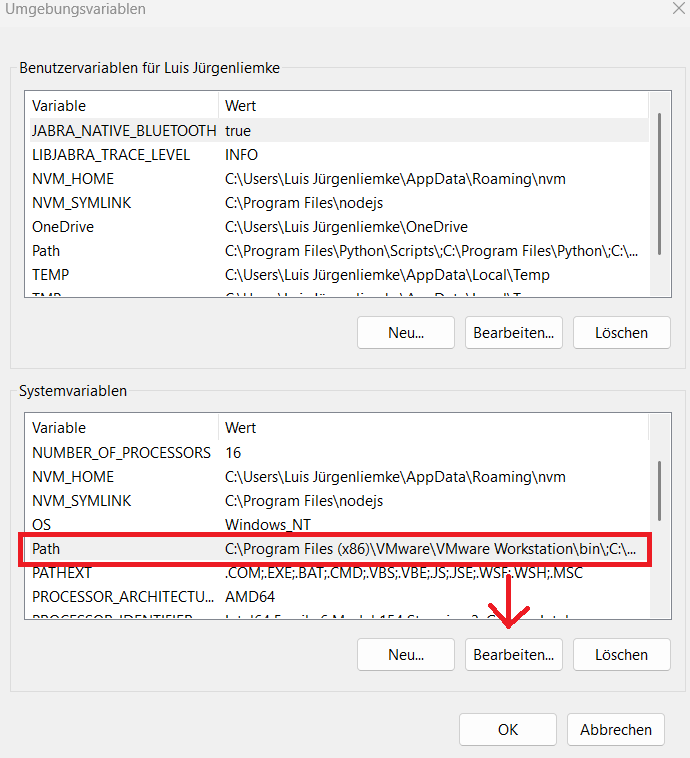
A new window should then open which will show the user variables at the top and the system variables at the bottom. Then select the "Path" variable and click on "Edit":
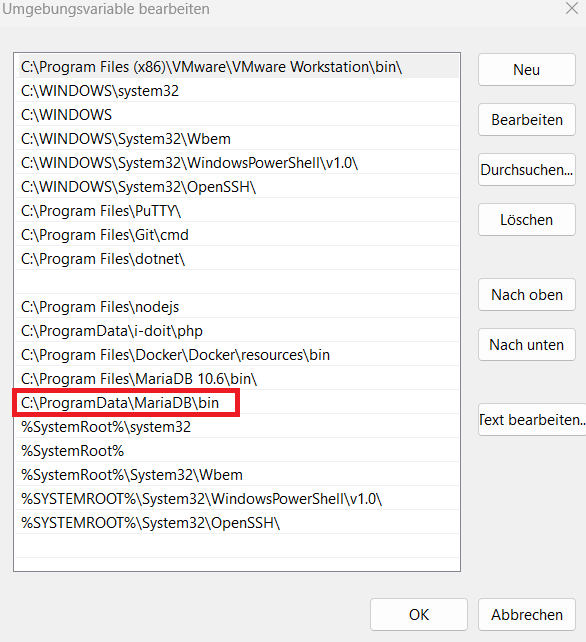
This opens a list of environment variables. Create a new entry and add the path to the bin folder of MariaDB. The i-doit Windows installer should have created this folder under the path C:\ProgramData\MariaDB\bin.
Once the path has been set, you should now be able to use the SQL commands in the command prompt. It may be necessary to restart the window first.
Migrate Data to Windows#
First unpack the ZIP file you have created under the following path and overwrite all files if necessary:
1 | |
Afterwards we import the Database. To avoid errors, we first delete the existing databases on our Windows server:
The SQL commands can be executed via the MySQL client (can be found via Windows search)
1 2 | |
We then recreate the databases:
1 2 | |
Now we can import the databases from the old instance:
To do this, we switch to the normal Windows command prompt
1 2 | |
If the error ERROR at line 1: Unknown command '\-' occurs:
If the above error occurs, you have dumped the database with a MariaDB version that writes a "sandbox command" in the first line of the dump. This line can only be interpreted by certain MariaDB versions, which does not apply to the MariaDB version installed with the Windows installer (see list). The line causing the error is /*!999999\- enable the sandbox mode */, this line must either be removed manually from the dump or you can switch to a different MariaDB version and perform the dump again.
We also authorize the idoit user for the new databases:
1 2 | |
The instance has now been successfully migrated from Linux to Windows.
Follow-up Work#
Following this migration, you should run various tests and reactivate the interfaces between i-doit and third-party tools. It is also important to have the backups running. If all tests are successful (which can hopefully be presumed), all colleagues should be informed that the IT-documentation is available again.
How long does such a migration take? If the preparation and the subsequent work is ignored, such a migration takes not longer than two hours, so it's worth it. Good luck!