Creating a Local User#
Please create a complete backup before making any changes to an interface/import. If the result is not satisfactory, the backup can then be restored
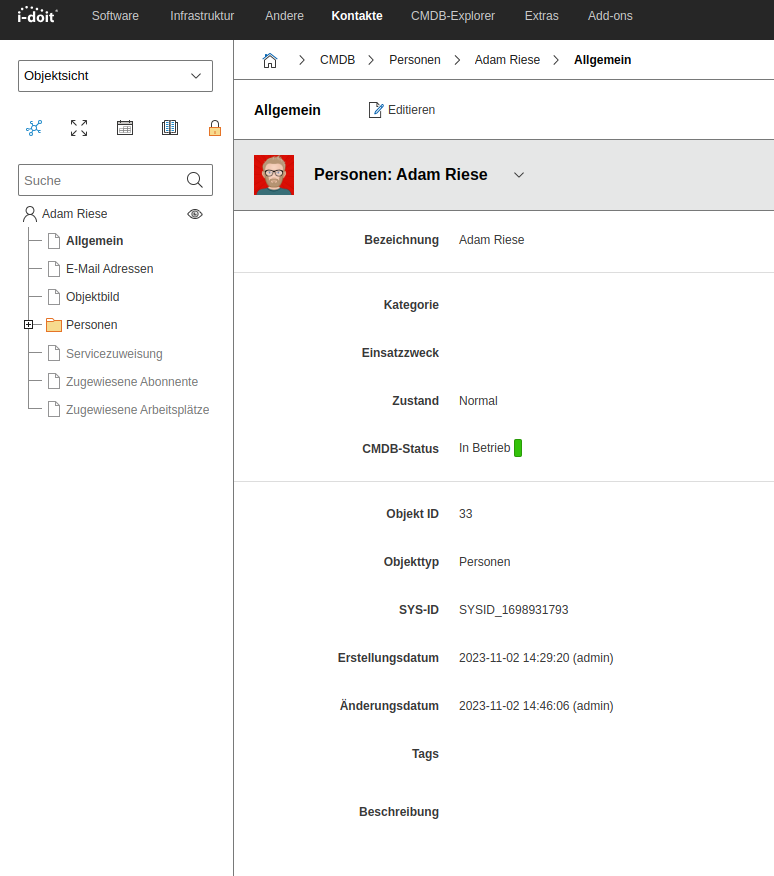
With a local user, you can log in directly to i-doit without depending on an external directory service. i-doit already comes with several local users in the standard installation that you can use for the initial login. This article shows you step by step how to create an additional local user.
LDAP/AD
Most of the options presented here are not limited to local users. You can also use them in combination with the LDAP/AD interface.
Emergency
Local users work even when external authentication systems such as LDAP/AD or SSO are unavailable. This way, you always have access to the IT documentation in case of an outage.
Create a New Object (Person)#
In i-doit, users are part of the IT documentation. Each user is an object of type Persons. First, create a new Person object:
- Navigate to the Persons object type.
- Click New to create a new person object.
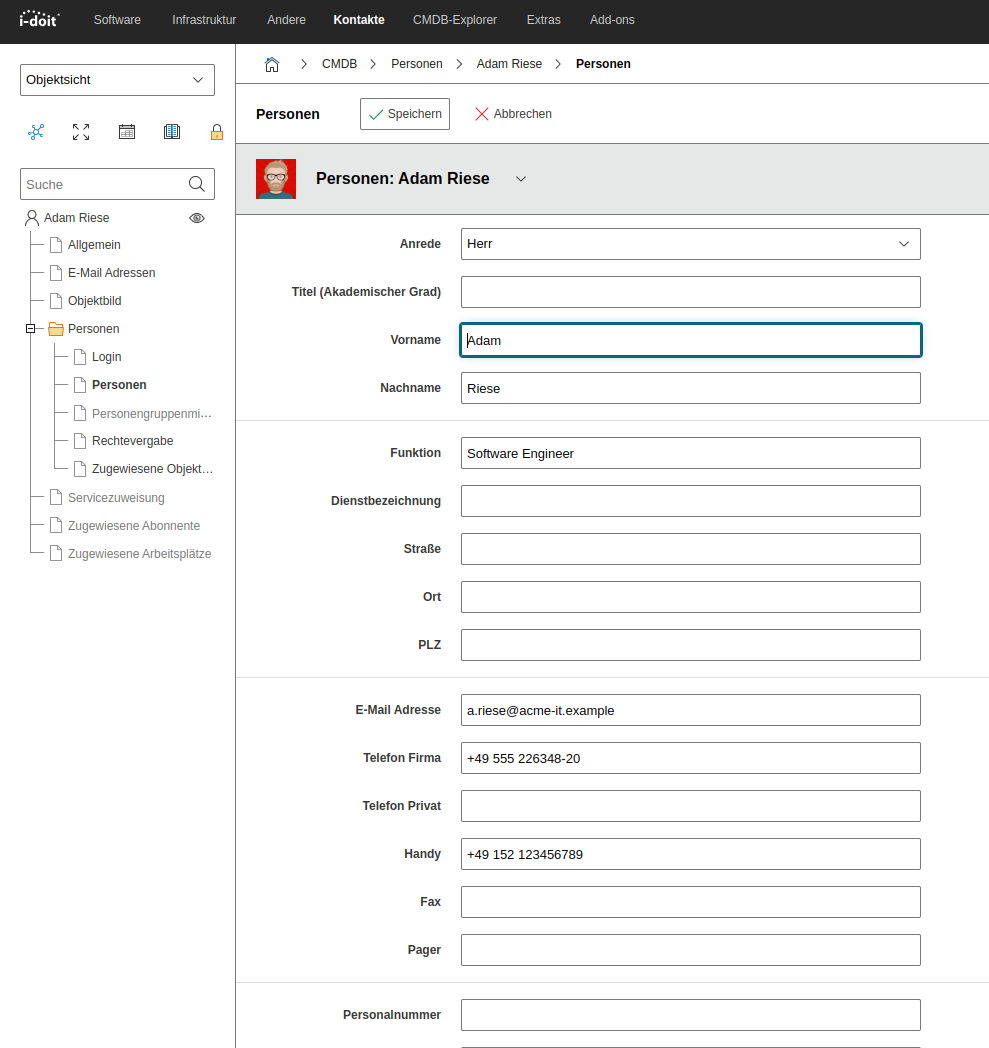
Fill in Basic Data#
In the Persons → Master Data category, enter the relevant data such as first name, last name, email address, and organization. At least first name and last name are required.
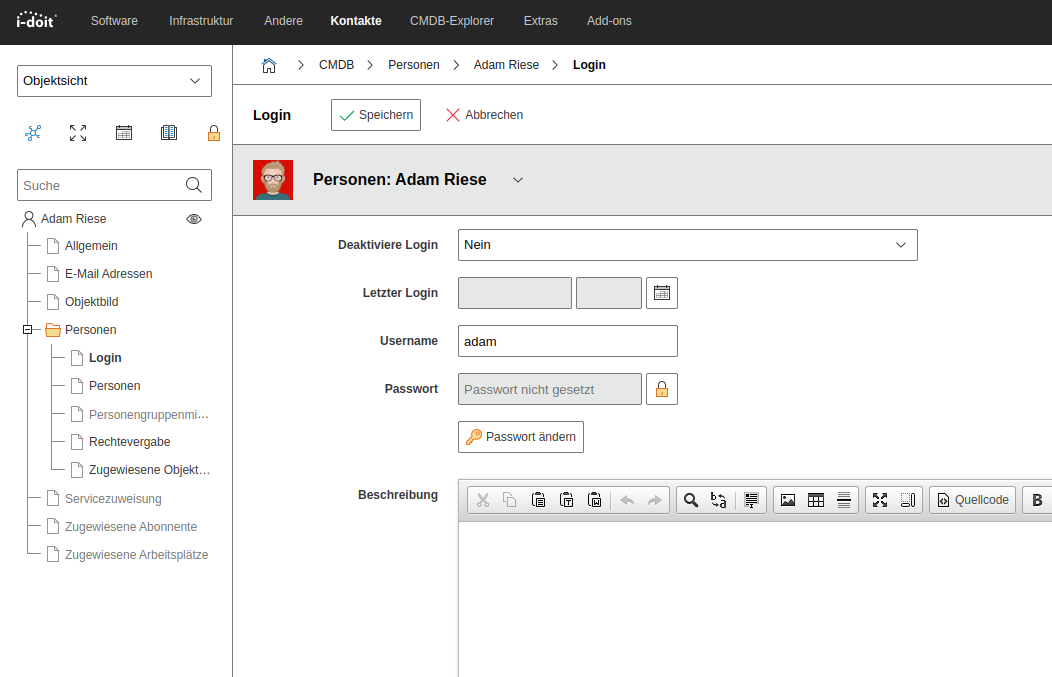
Configure Login#
In the Persons → Login category, set the credentials:
- Username: The name the user will use for login.
- Password: A secure password. The user can change this later.
Assign to Person Groups (Optional)#
To grant the user specific permissions, assign the person to one or more Person Groups via the Person Group Memberships category. Permissions are typically managed at the group level.
Test Login#
Open i-doit in a new browser or incognito window and test the login with the new credentials. If the login is successful, the user has been correctly set up.
See also#
- Initial Login — Default credentials and first steps
- Permission Management — Configuring user permissions
- LDAP Directory — Connecting to a central directory service