ADFS (Active Directory) (SAML)#
Please create a complete backup before making any changes to an interface/import. If the result is not satisfactory, the backup can then be restored
This guide describes the setup of Single Sign-On (SSO) for i-doit with SAML. Mellon is used as the authenticator against AD FS (Active Directory Federation Services).
Preparations#
The example configuration uses two servers -- a Windows Server with domain/AD and FS, and a Debian 11 server with Apache and Mellon:
| FQDN | IP | Role | OS |
|---|---|---|---|
| tu2-dc2.tu-synetics.test | 10.10.60.22 | AD, FS | Windows |
| tu2-samlsso.synetics.test | 10.10.60.108 | Apache+Mellon | Debian11 |
Basic configuration#
✔ The Windows server must have a configured AD that includes the AD-FS role.
✔ i-doit is already pre-installed and usable.
Install packages#
1 | |
An x86 64-bit system architecture should be used
Mellon Configuration#
Create a directory under /etc/apache2 for the configuration data.
1 2 | |
Create the Mellon metadata with the following command (adjust the URLs to your environment):
1 | |
This command creates the following files:
https\_tu2\_samlsso.synetics.test\_.cert
https\_tu2\_samlsso.synetics.test\_.key
https\_tu2\_samlsso.synetics.test\_.xml
Retrieve the AD FS metadata from your AD (adjust the URL):
1 | |
Now create the Mellon configuration:
1 | |
Insert the following directives:
1 2 3 4 5 6 7 8 | |
Apache2 Configuration#
First create a self-signed certificate (the name can be chosen freely):
1 | |
Example:
1 2 3 4 5 6 7 | |
Create a VHost:
1 | |
Example configuration:
1 2 3 4 5 6 7 8 9 10 11 12 13 14 15 16 17 18 19 20 | |
In this example, only the subdirectory /protected under /var/www/html is protected via Mellon. You can later create an additional VHost configuration to include e.g. i-doit.
Create the directory:
1 | |
Create an example HTML file to test the access later:
1 | |
Example:
1 2 3 4 5 6 7 8 | |
Test the configuration:
1 | |
Enable the required modules and configs:
1 2 3 4 | |
Synchronize the system time:
1 | |
The configuration of the Linux server is now complete for the time being. In the next step you will set up AD FS.
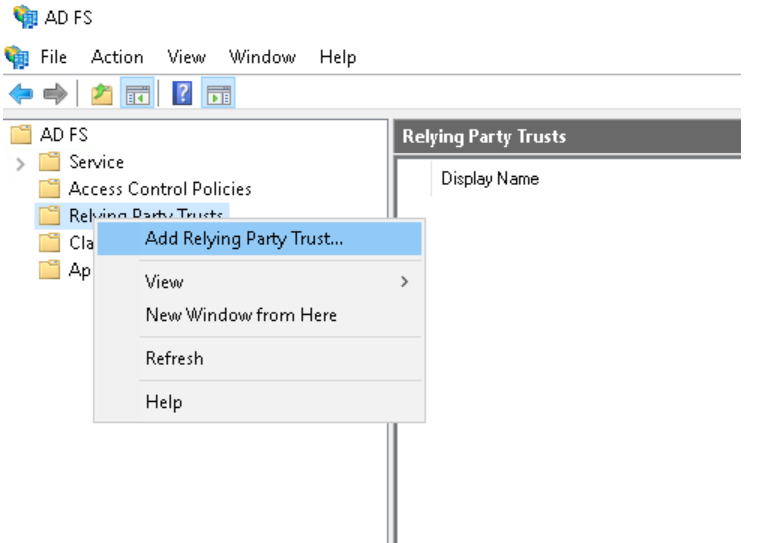
AD FS Configuration#
First download the mellon_metadata.xml from the Linux server (e.g. via WinSCP). Then open the AD FS Management and create a new Relying Party Trust:
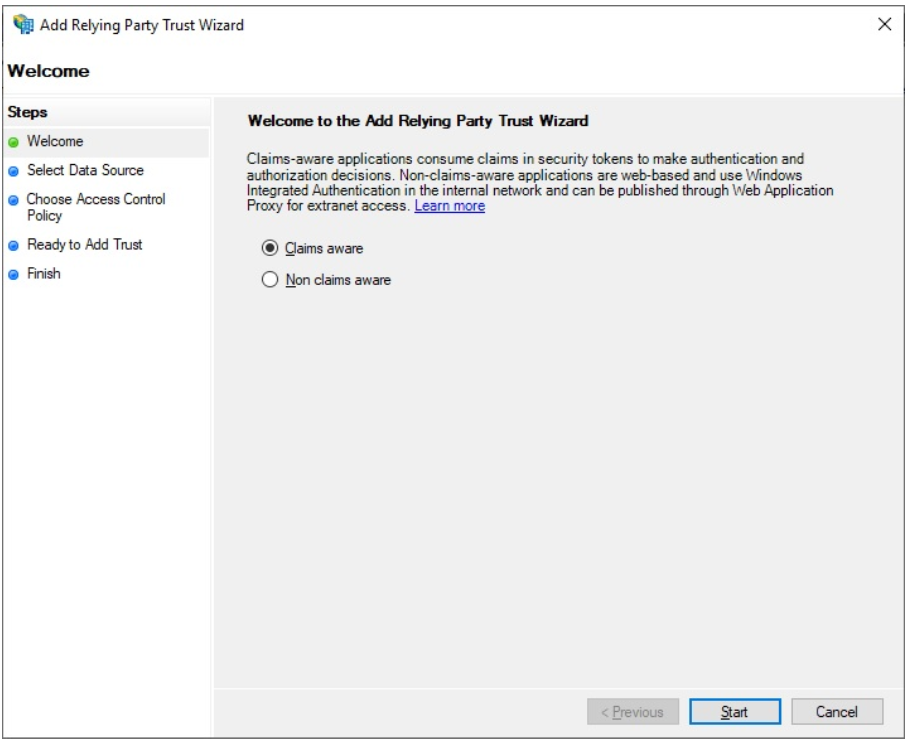
Leave Claims aware active and click Start.
In the next step, select Import data from a file and navigate to the previously saved XML file.
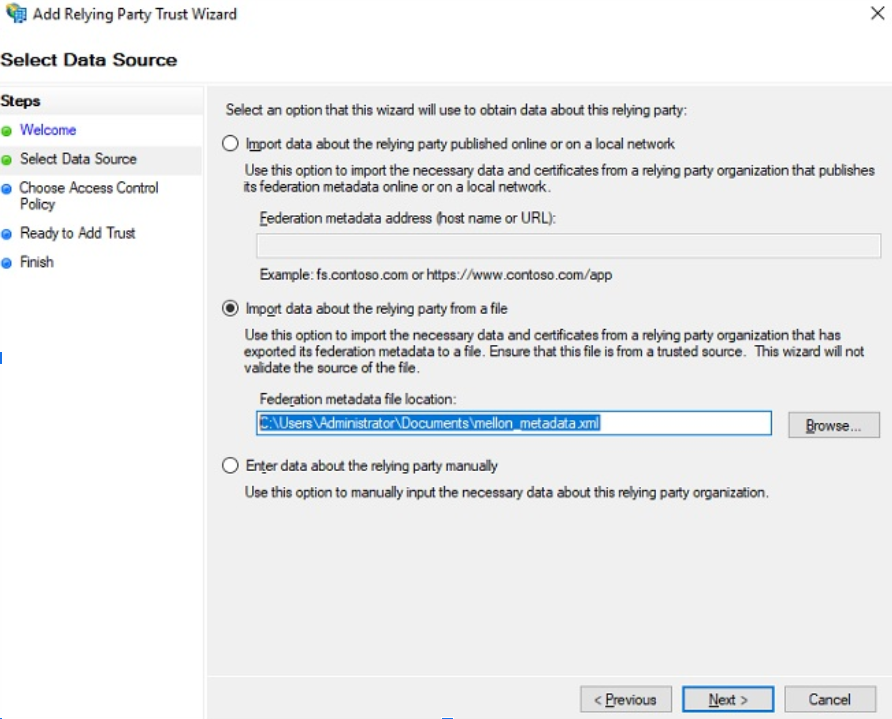
The following notice can be ignored if it appears.

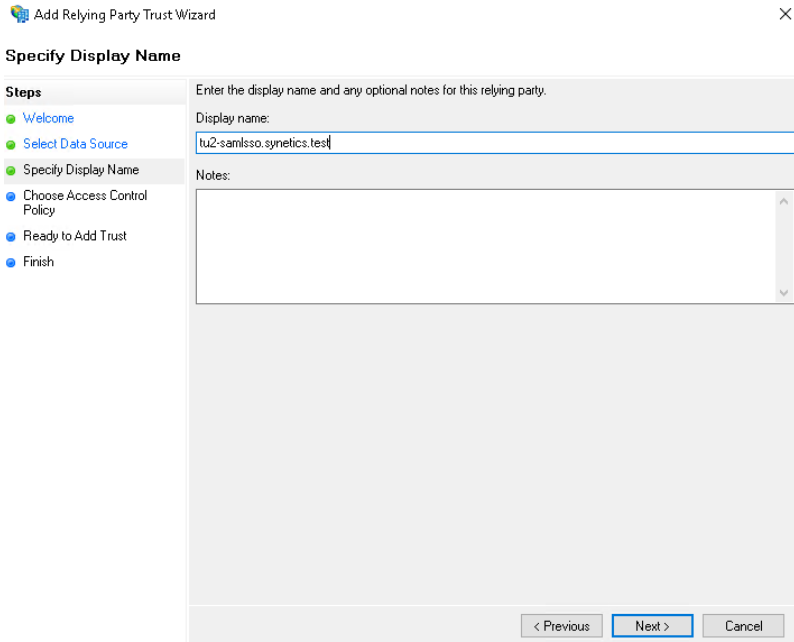
Enter the FQDN of your Linux server.
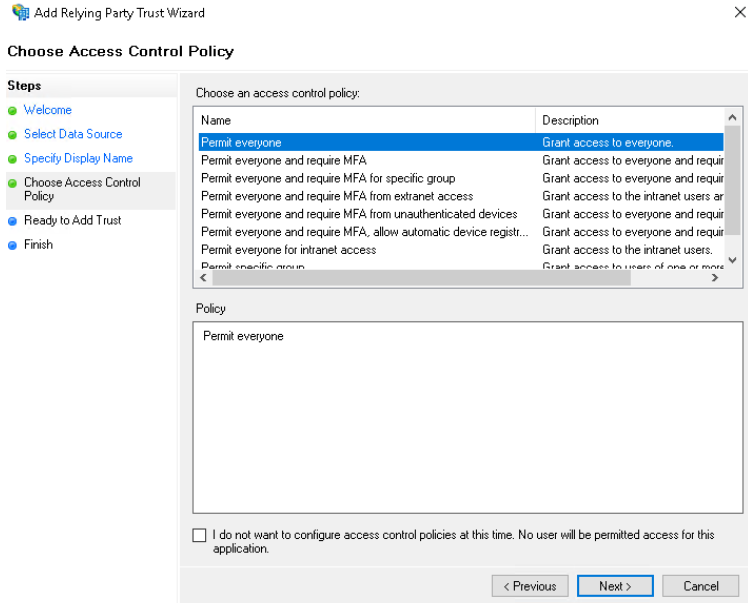
In the next step you can configure access control. To start, leave the setting at Permit everyone.
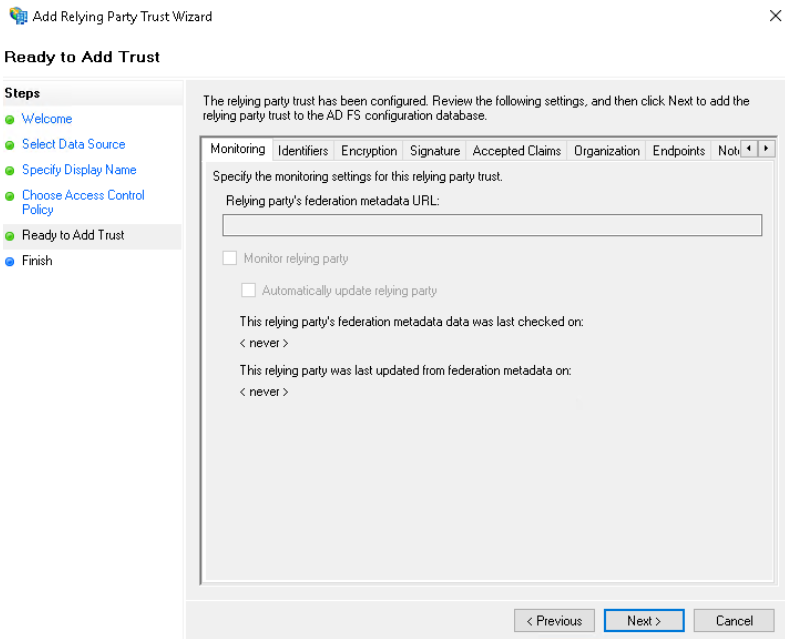
You can skip the next window -- click Next.
Click Close -- the Relying Party Trust is now created.
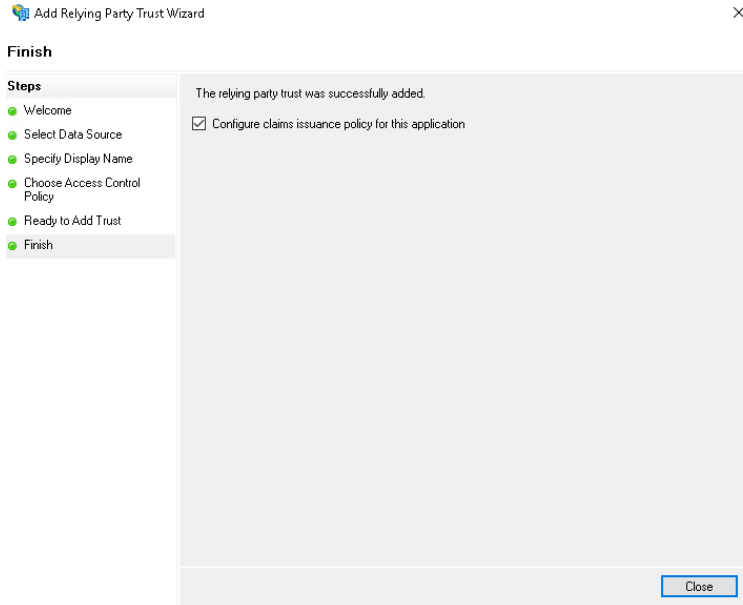
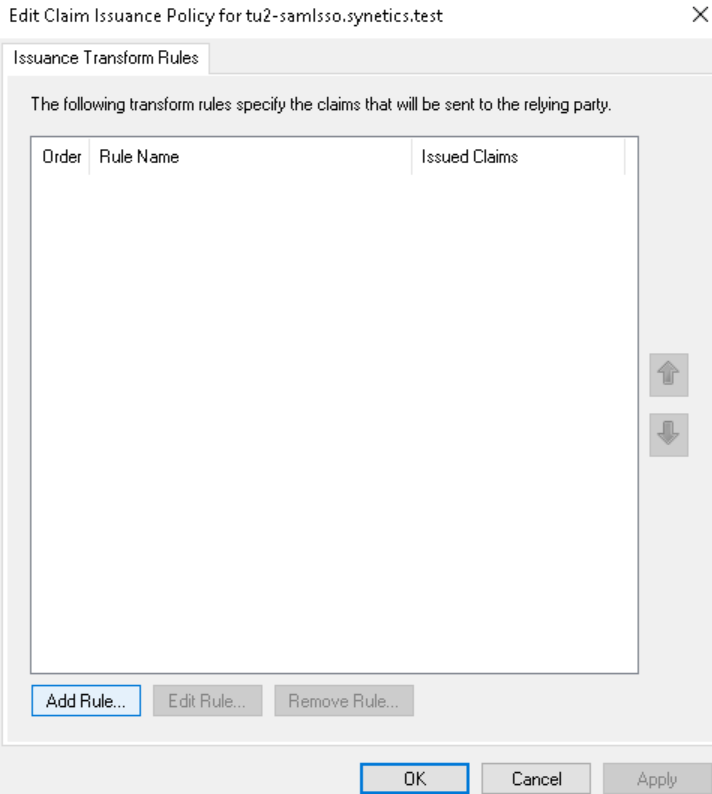
Now define the Claim Issuance Policies so that users can log in via email.
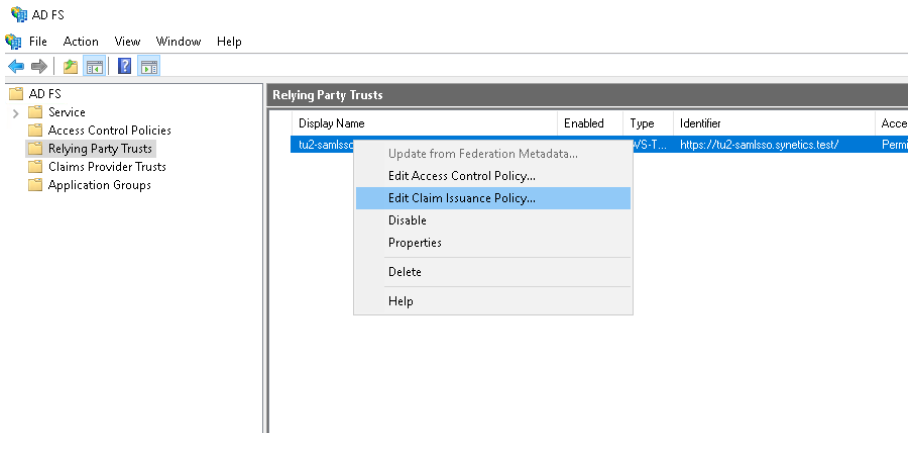
A window opens -- click Add Rule.
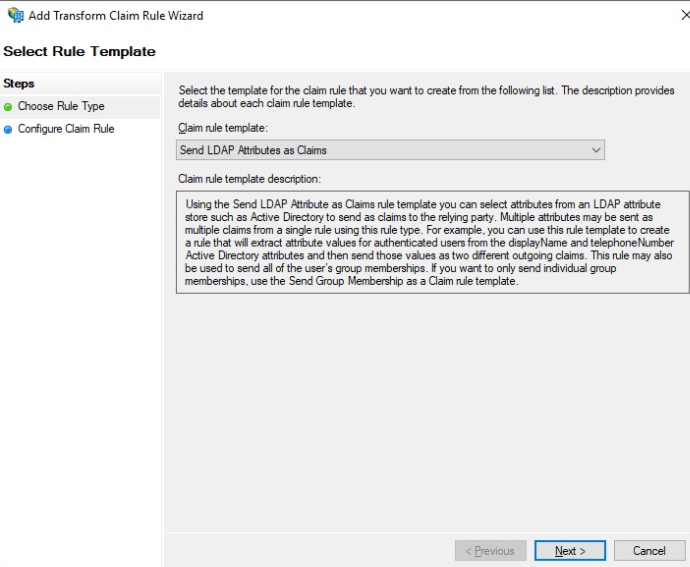
Select Send LDAP Attributes as Claim and click Next.
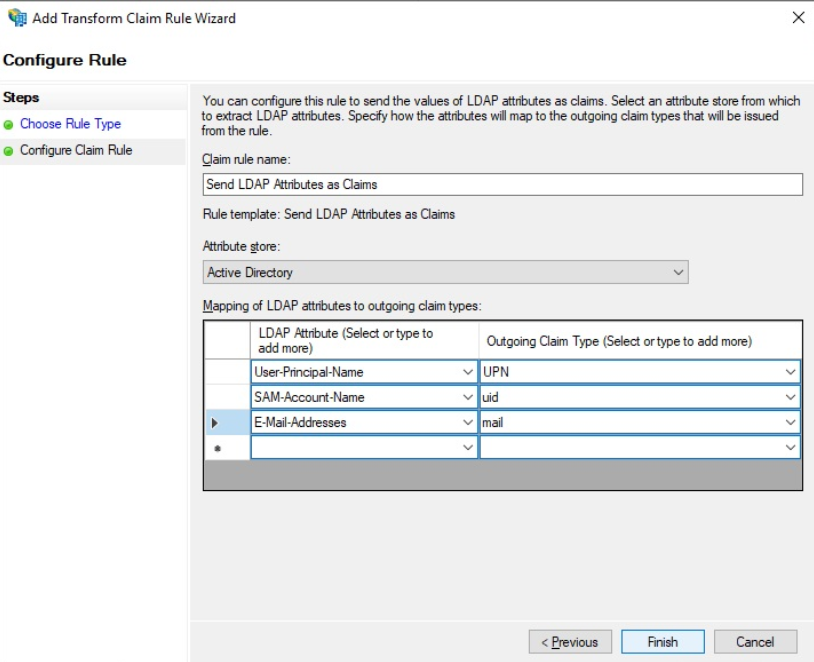
Give the rule a unique name and add the mapping as shown.
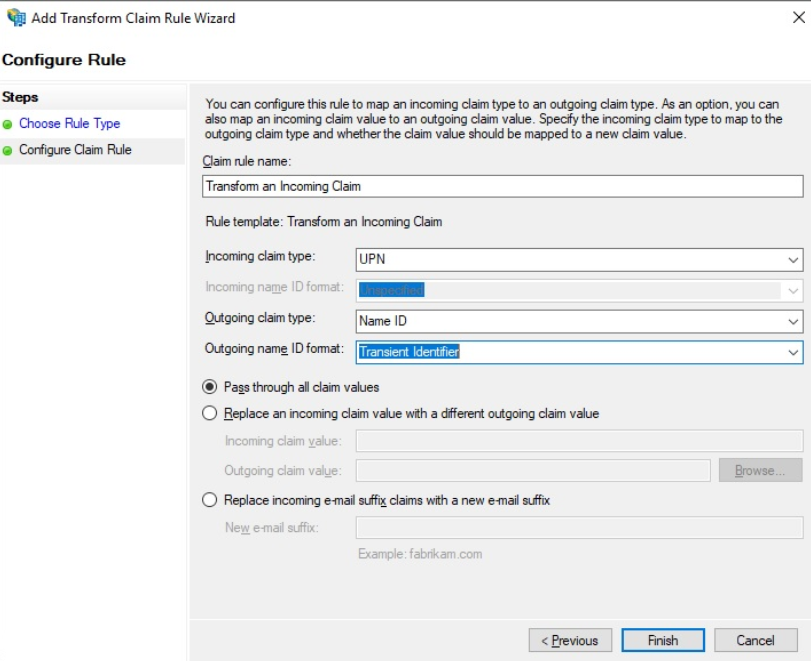
Create an additional rule and select Transform an Incoming Claim.

Apply the configuration as follows:
The Relying Party Trust is now fully configured. Test the authentication:
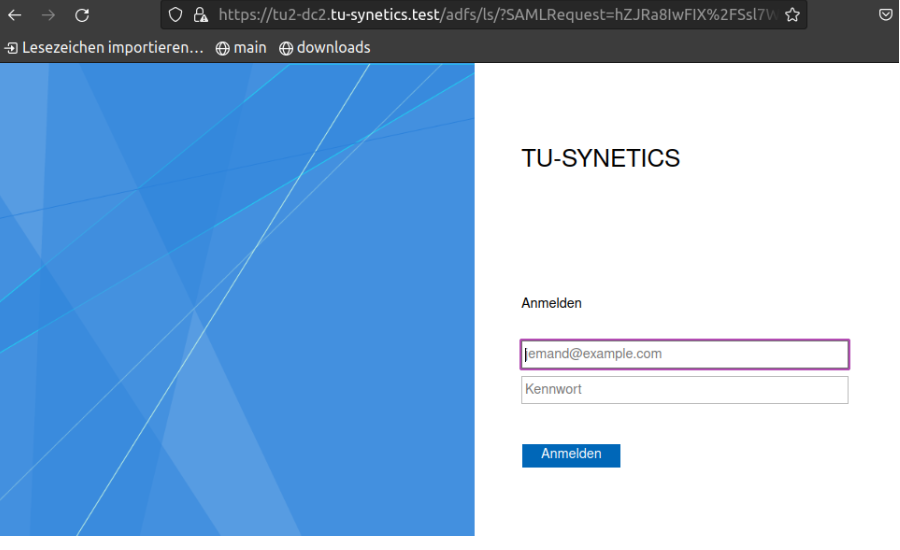
Test SAML-SSO#
Open the URL of the server in your browser: https://mywebserver.example.com/protected
After successful login you should see the following output:

Install i-doit#
The installation can be performed as described in the KB article for Debian.
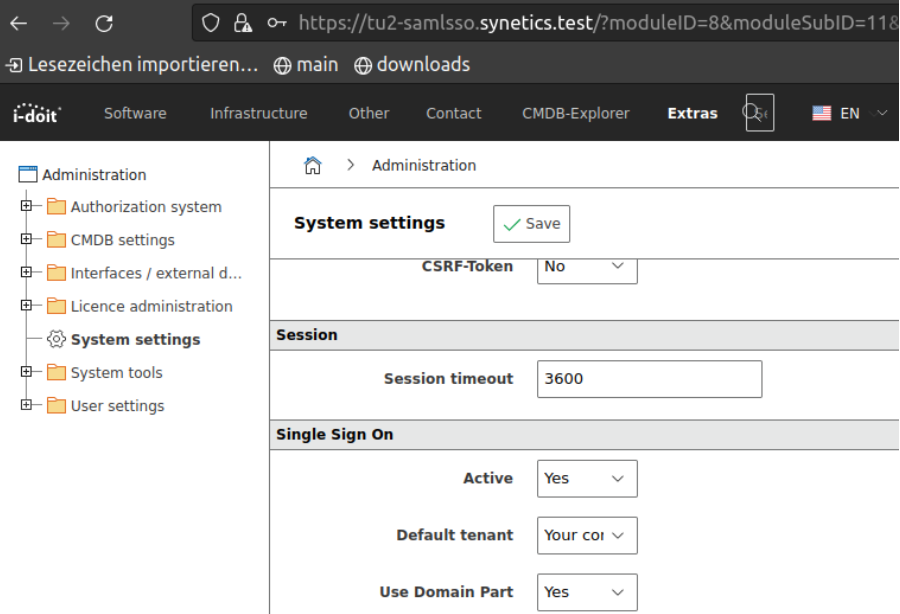
Enable SSO login for i-doit#
Open the System settings tab in the Admin Center and adjust the configuration as follows:
Important information about contacts
The email address of the respective user must be stored as the login in i-doit!
Adjust the VHost configuration so that SSO login works.
Disable the i-doit VHost configuration:
1 | |
Adjust the Mellon VHost configuration created at the beginning:
1 | |
Example
1 2 3 4 5 6 7 8 9 10 11 12 13 14 15 16 17 18 19 20 21 22 23 24 25 26 | |
Restart Apache:
1 | |
The setup is complete. If you now open the URL in your browser and log in, you will be taken directly to i-doit.
Fallback to login form
If a user logs in who does not yet exist in i-doit, they will automatically be redirected to the i-doit login form and can log in with a local user.